

As you may have seen already, I enjoy volunteering for the local Science Museum. This time I took on rebuilding one of my favorite exhibits, Freeze Frame. The exhibit is simple, guests stand in front of a photo sensitive wall while a flash activates to ingrain their silhouette in the wall for a few minutes. The museum had one that had long since died and the previous volunteers simply ripped out all the parts except the photo sensitive wall and added an LED on a pen to let patrons ‘write with light’. While interesting, it’s not the same awe inspiring effect as Freeze Frame, so I took it on myself to resurrect the original function. This is how I did it.
All that was left of the exhibit was the hole where the flash unit was once installed, and the photo sensitive wall. Everything else had to be built from scratch. Ok, so first the flash. I tested a friend’s photographers flash unit and it worked well, so I acquired one for this task. It has a ‘PC-Sync’ connection that is used to remotely trigger a single flash. Searching the internet gave me clues that this is a simple two wire connection that just needs to be shorted for a brief duration to trigger the flash. I tested this with an optoisolator (just to be safe) and I was able to trigger the flash with the flip of an IO pin.

Example schematic from glacialwanderer.com
Next is the user interface. I already used Sparkfun’s big red dome button for another project in the museum and knew it worked well for kids and adults. I also wanted to add audio feedback to give patrons the cue it was about to flash so I grabbed an small 8 ohm speaker as well. I figured between the audio tones and the flashing light in the button, guests would know exactly when the flash was coming and to strike a pose. I threw together a quick PCB design and had it made by Dorkbot.

Schematic (All pics are click to enlarge)

PCB
The circuit is centered around an ATtiny85 which I like to use for small projects like this. When pressed, it runs a short three count of flashes and audio tones before triggering the flash. This gives guest enough time to run back to the wall and strike a pose.
To house the electronics and interface, I had Patrick McCabe design and laser cut a wall plate for this exhibit.

The wall plate design
To mount the speaker to the plate, I warmed up the old Makerbot, designed and printed a retaining bracket for the speaker. This is how the end result turned out:

The assembled control panel

PCB close up

Speaker from the front
I also started pondering about how to mount the relatively heavy flash unit. For kicks I bought a extension arm when I bought the flash unit figuring it might prove useful. Then I realized if I mounted the flash upside down with the extension arm it could bolt to the wood paneling above it. I was about to run to Home Depot to start figuring out how to make a bolt-able bracket when I remember I had a 3D printer (still getting use to this luxury, thanks again Wired Insider for the printer). I designed and printed a simple bracket to mount the flash to the wall.

The bracket and bolts
Side note: while printing this I finally figured out why my print quality on my Thing-o-Matic has been so poor since updating to the latest firmware. Turns out there’s a bug in the firmware that reverses the setting in the machine profile “Hold Z axis”. So if it is checked (like it should be) it doesn’t actually hold the z axis, allowing the head to fall while it’s printing a layer. You have to uncheck it to make the machine hold the Z axis while printing. Here’s a before and after:

Hold Z axis bug, before and after
Last Minute Design Addition…
Anyone paying close attention to the pictures will have already noticed the schematic and design of the PCB doesn’t quite match what is in the pictures. After playing with the flash for a while I realized running the flash in stand-by all day was not a smart thing to do. I’ve been burned by that before, and wanted to make sure it didn’t happen again. I had wisely broken out an extra IO pin on my PCB design and decided to go ahead and put it to good use. I grabbed a PowerSwitch Tail off the shelf to allow the control board to cut power going to the flash when the exhibit is not used after a few minutes. I’ve made the changes to the design posted here to include the change as a proper screw terminal block.
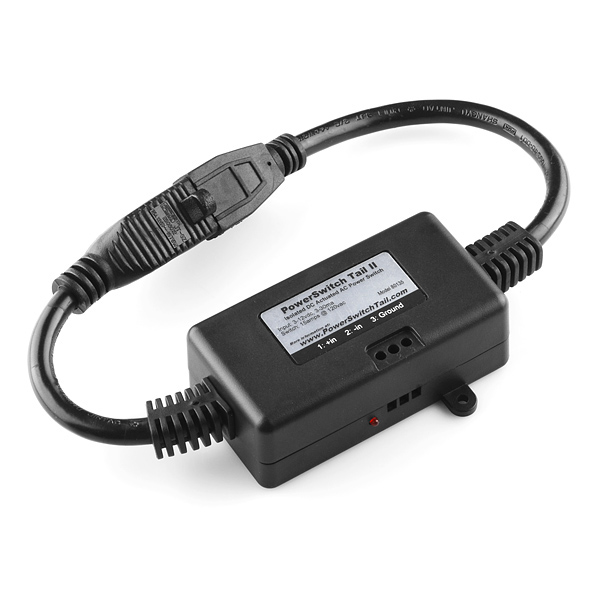
PowerSwitch Tail unit. Image: Sparkfun
Install Day
When I had everything working the way I liked, I packed it all up and headed for the museum. Dave, the handyman with a heart of gold was there to help me install everything. First we removed the cover that was over the window in the back of the exhibit and installed the mounting bracket.

3D printed mounting bracket
Then the flash.

Bracket holding flash unit
Next we had to cut out a hole for the control panel. No one remembers where the button has located in the original exhibit.

Cutting hole

Wiring it up

Screwing it in
Finally we finished it off with a pane of plastic to keep wondering fingers out.

All done
Time for a test run…

Science!
Here’s what the sequence looks like:
The Source Code
I used AVR Studio to write and program the code running in the ATtiny85. It looks Arduino compatible because I like the API even when not developing for Arduino, so I write all my helper functions in the Arduino style.

Main loop
The main loop simple waits for a button press, then turns on the power to the flash, gives a 3 count of tones and flashes before triggering the flash, then sits in another loop for 2 minutes. This loop alows the Flash to stay running while patron are in the exhibit and presumably pressing the button multiple times. This will avoid short cycling power to the flash. When no one has pressed the button for 2 minutes, then that loop exists, the flash power gets turned off and the code continues the main loop. I also used the hardware watchdog timer just to make sure the exhibit stays running.
To create the tones from the speaker, I just used one of the times to create a square wave.

Creating a tone with a timer. Click to enlarge
And the sequence that leads up to a flash…

Flash sequence
And there you have it, Rebuilding the Freeze Frame exhibit. All source for this project is available to download here: FreezeFrameSource

This work is licensed under a Creative Commons Attribution-ShareAlike 3.0 Unported License.
