
 Well, just like the other 650,000 civilian employees of the DoD I suddenly find myself faced with a 20% pay cut and seemingly endless 3 day weekends. What’s a guy to do? O that’s right, when don’t I have crazy home projects clogging up desk (or floor) space? Well with the extra free time I can start and end some of the projects that I’ve had on the back burner. First up is one of those kind of projects where it’s not so much “Why?” as it is “Why not?”. I had some high energy density batteries lying around and a recent string of power outages have been leaving me in the dark more often than I care for. So in true hacker fashion, I built something: BatBox, just like in Minecraft. My real life version can supply 5V USB power, 12VDC and 110VAC at 240W for about 2 hours. That’s enough to run my dual head desktop 4x longer than it’s current battery backup.
For a long time I’ve had my kickstarter reward for the OpenBeam project knocking about the house. I wanted to try using the stuff but had no problem that needed solving. This provided me a good excuse to try it out. First I had to figure out how to cut it to length. Thankfully OpenBeam had a (cheap) solution; 3D printed jig and a handsaw. Downloaded the jig and hit print. Ordered the clamp & saw on Amazon then went to Home Depot to get some nuts and bolts.
I was surprised how easy it was to cut, though after a while your arms do get tired. As always, pics are ‘click to enlarge’.
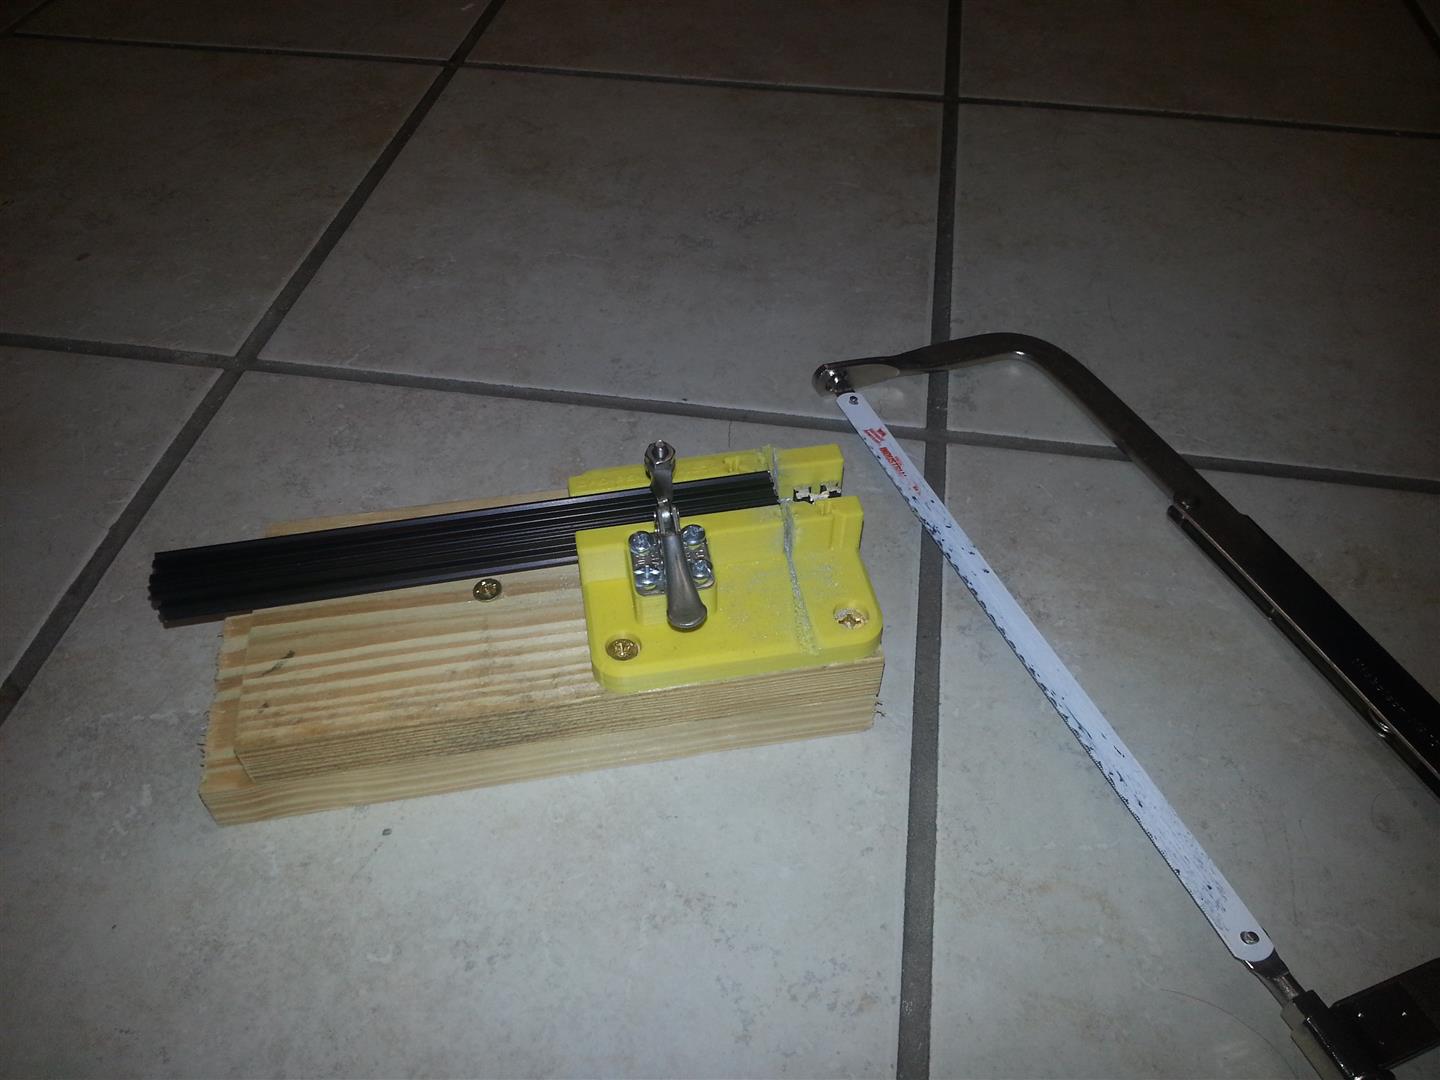
3D printed Cutting jig
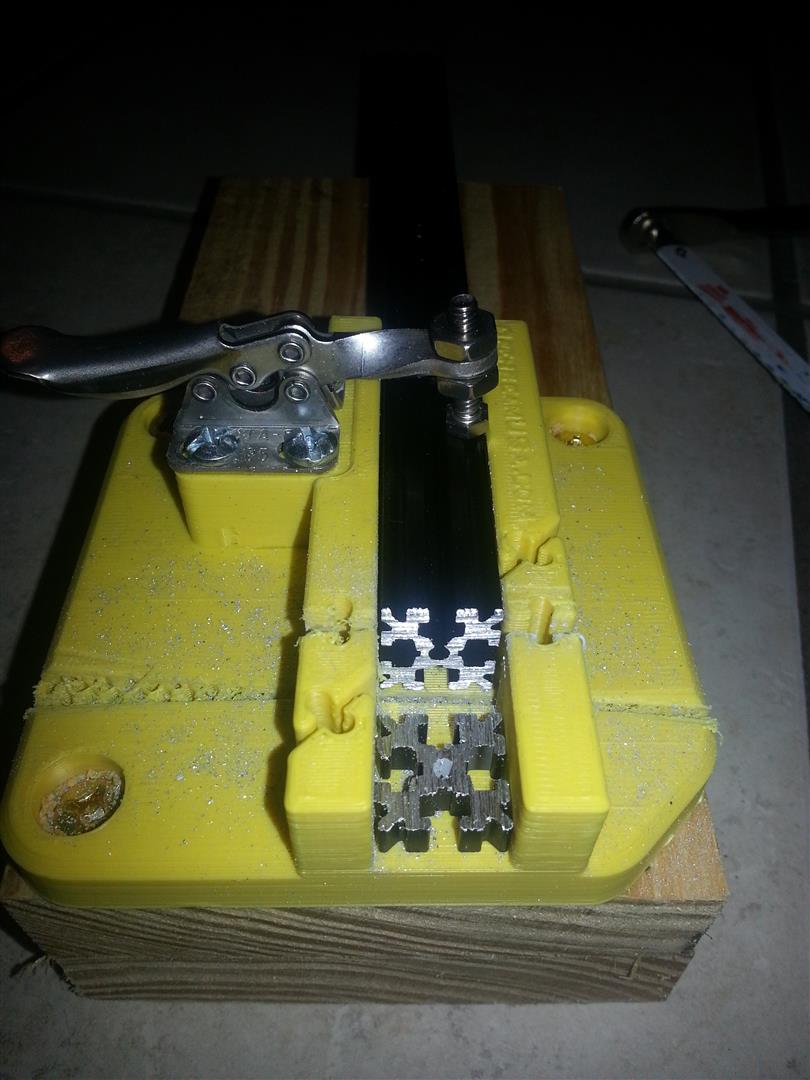
Surprising clean cuts
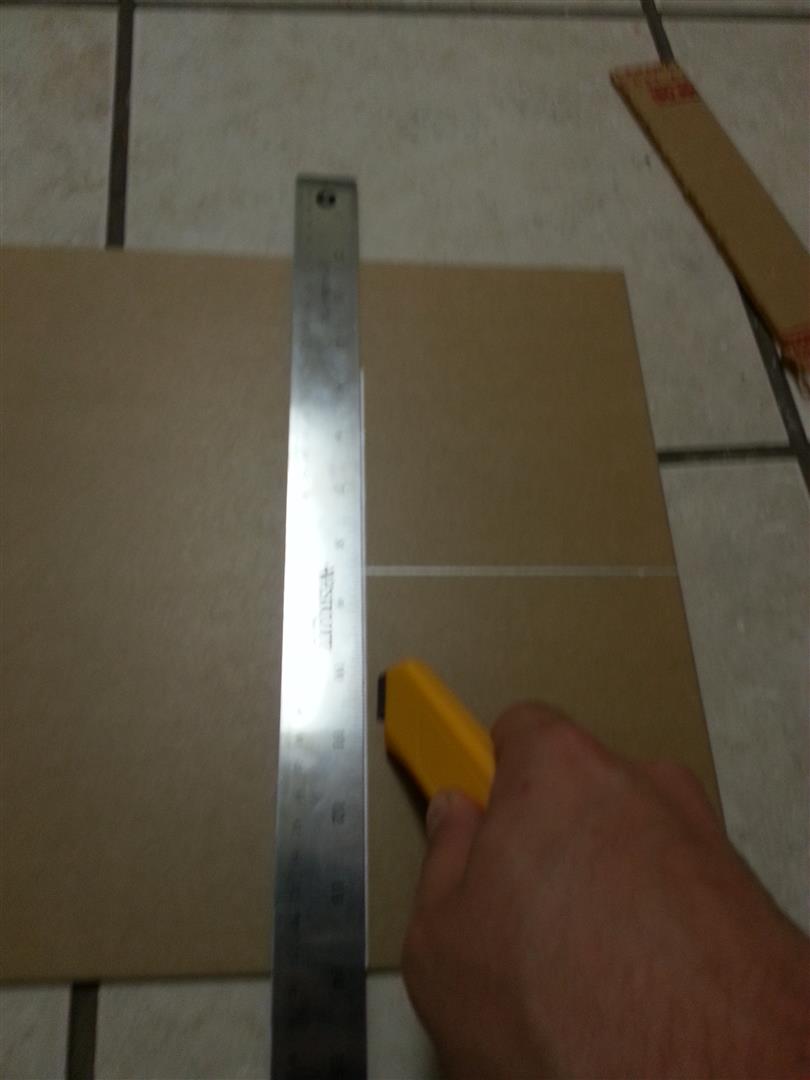
I also order some acrylic sheets from Amazon for the sides.
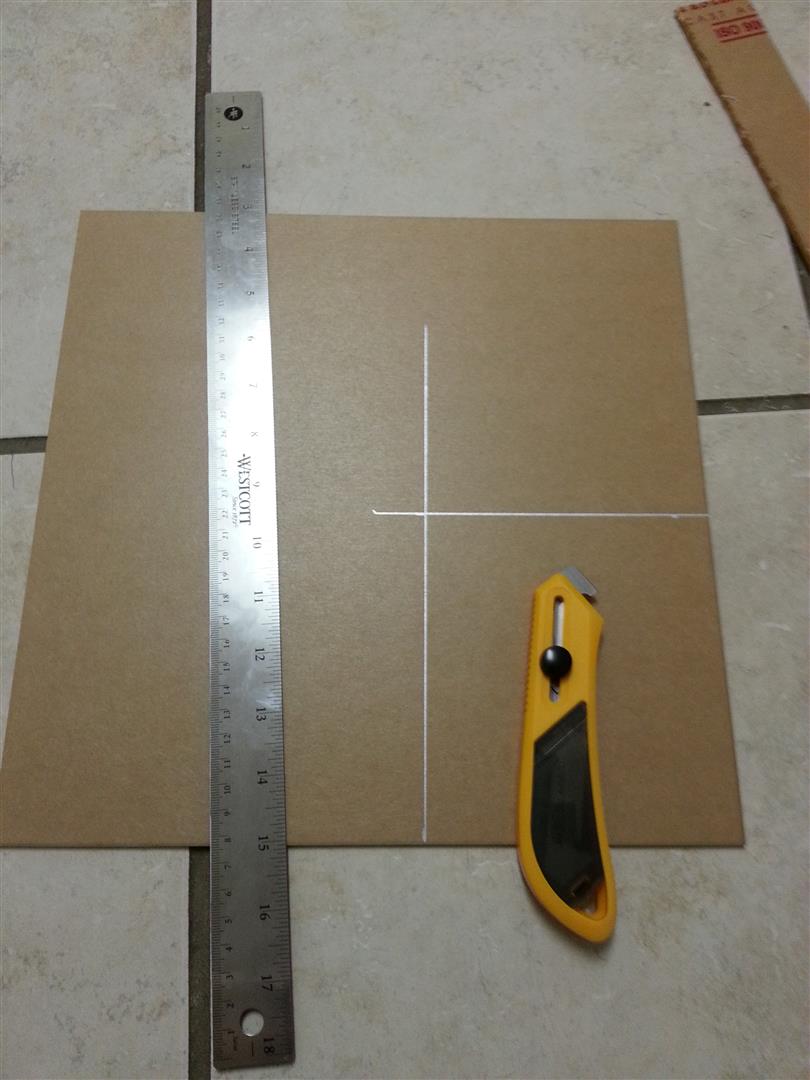 Cutting the acrylic proved easy as well, once I got a hang of the scoring tool.
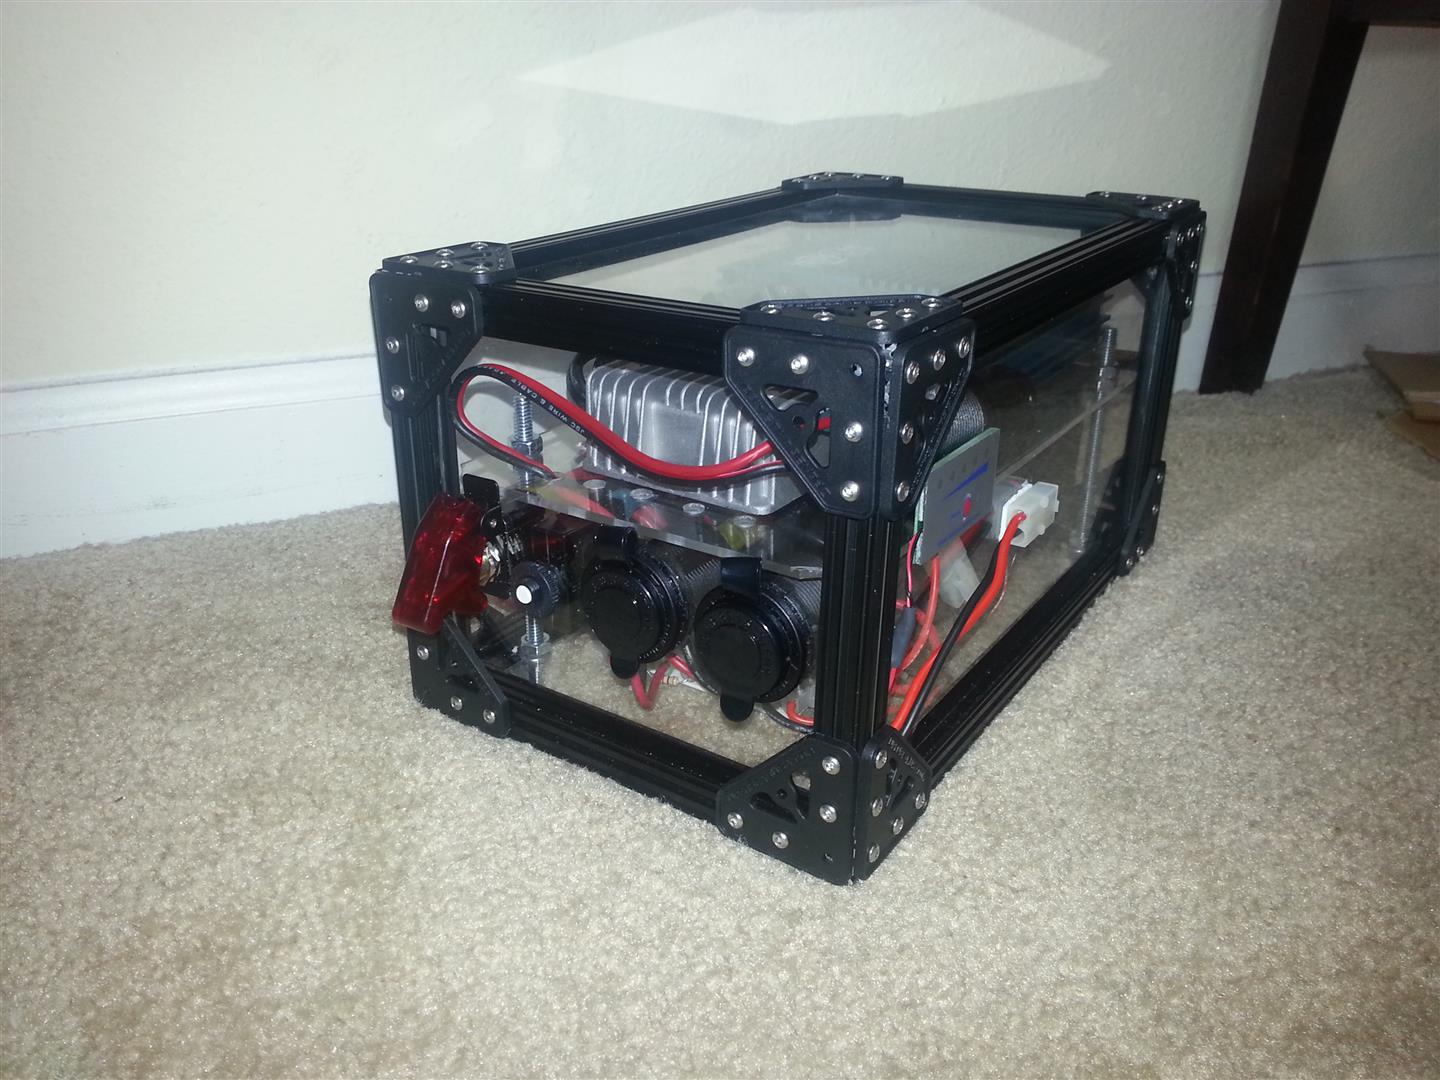
With a enclosure system worked out, I put together a shopping list of supplies: switch, 12V socket, 110VAC inverter, 12V regulator. I needed the regulator because the batteries I had were 18V, too high for a 12V inverter and too low for a 24V inverter. I found a 240W 12V regulator on Amazon that would solve the problem. With all the parts on hand, I sketched out the layout, determined the dimensions and went to work assembling the BatBox.

First step
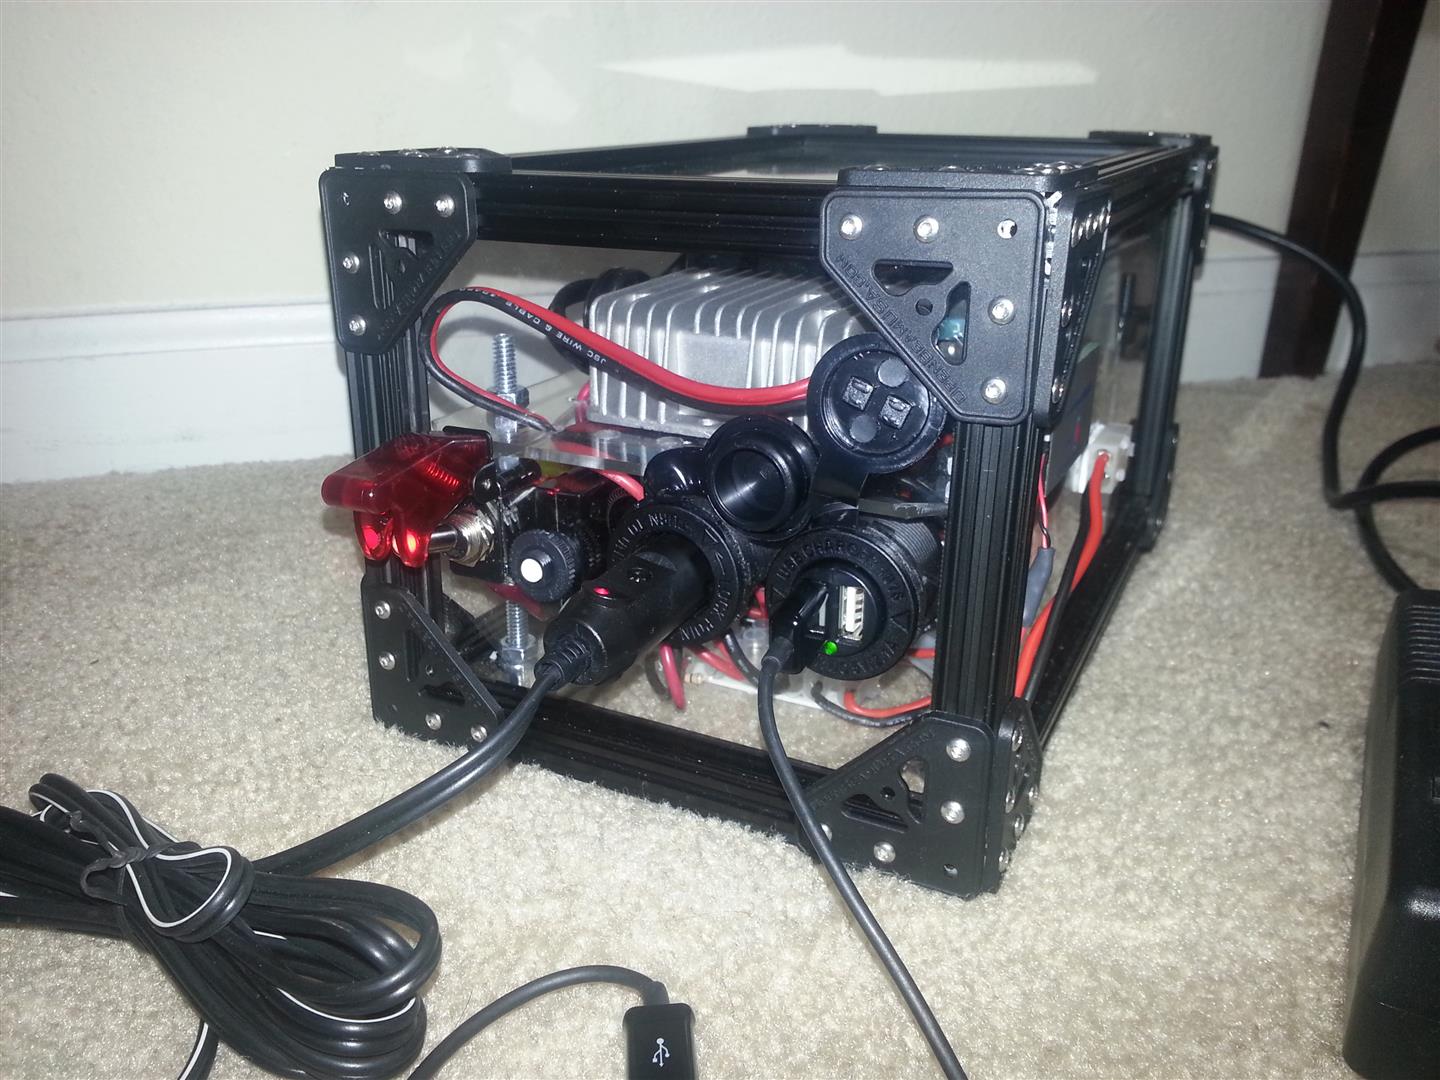
The switch had an embedded LED light that was rated for 12V. So I added a resistor to drop down the higher battery voltage for the LED.
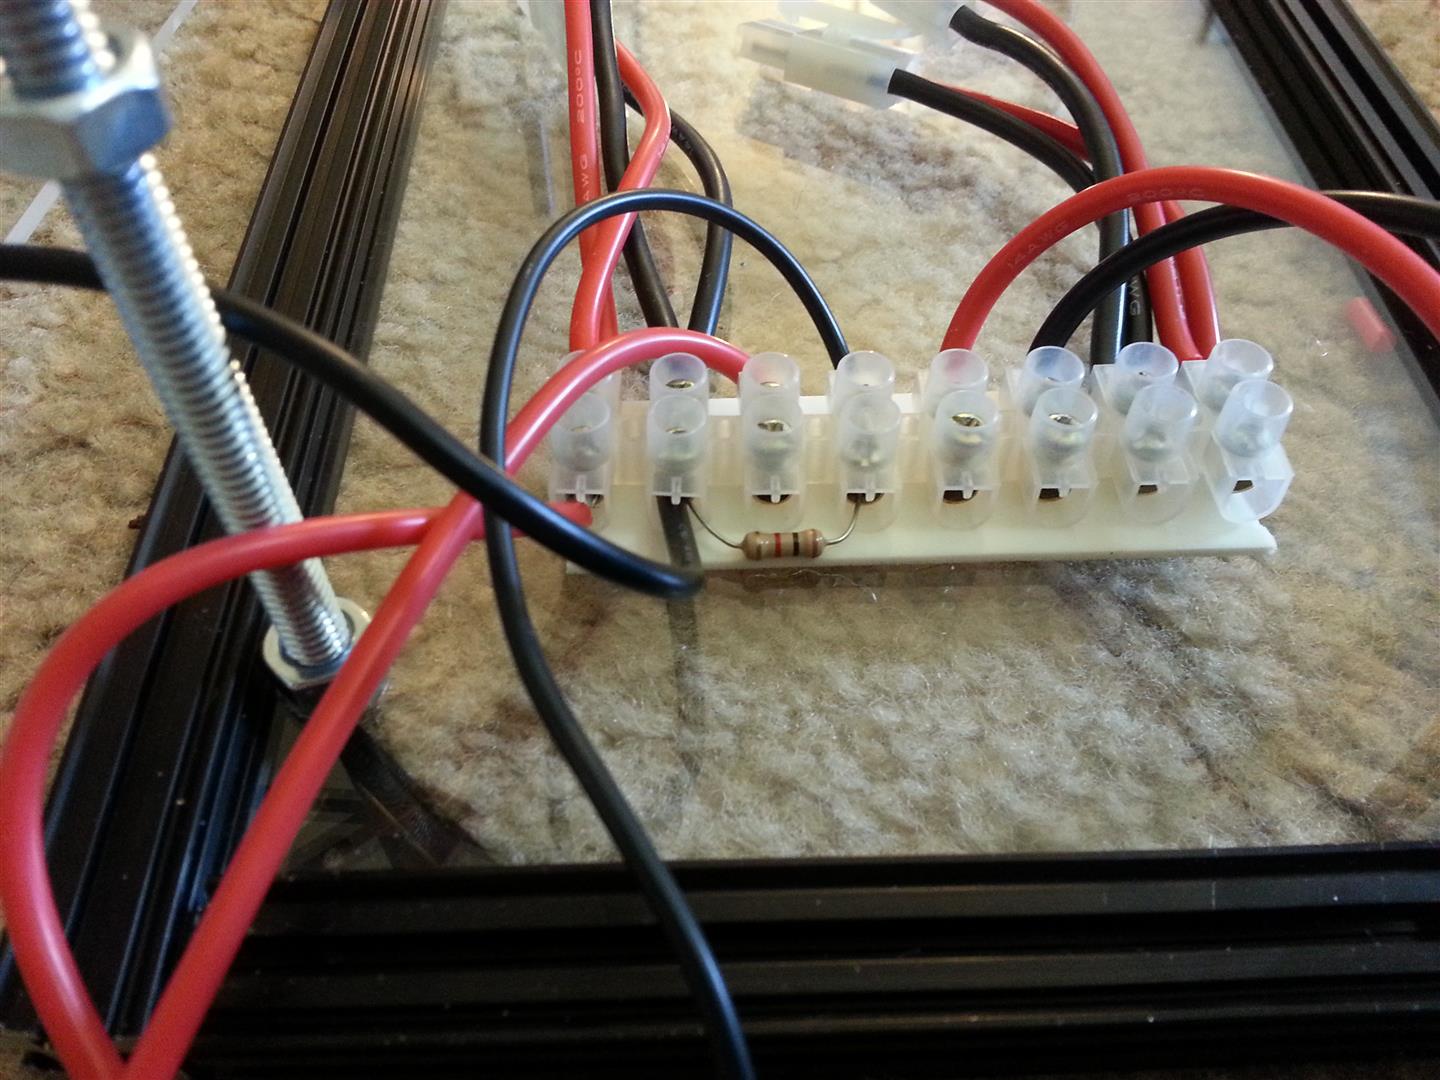

All wired up
The four bolts provide standoffs for another piece of acrylic that will serve as a mounting point for the inverter and regulator.
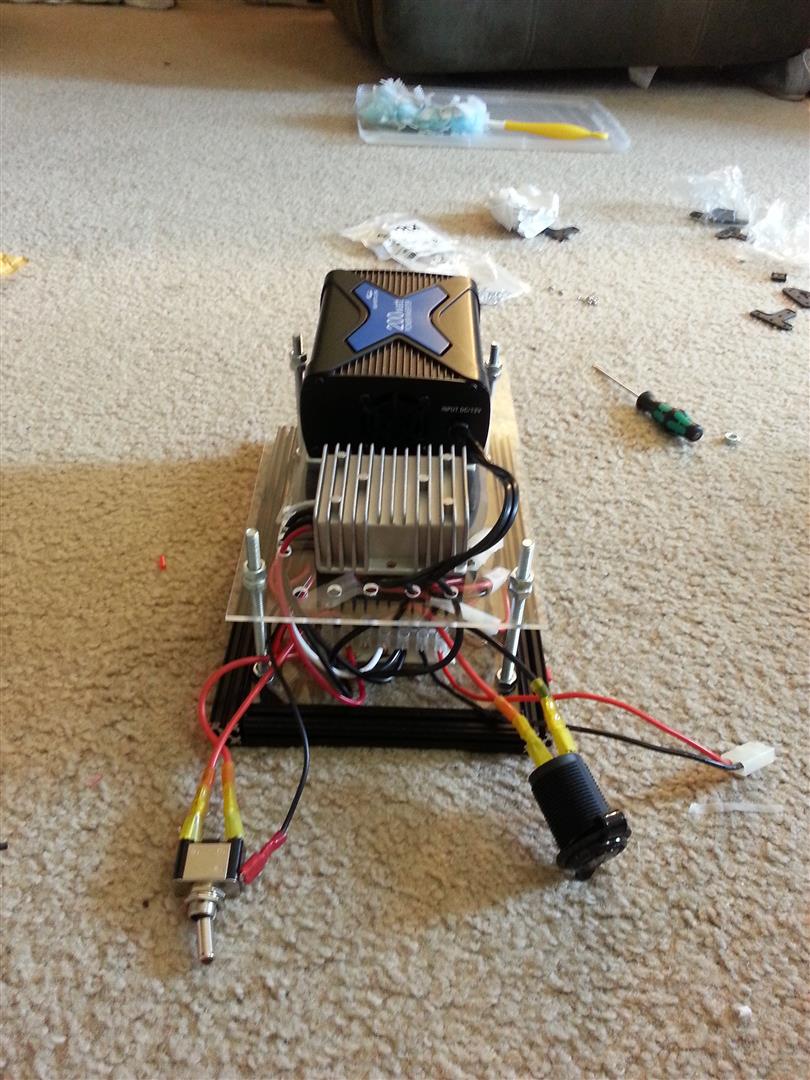
Everything mounted

Backside
Using various drill bits, I cut holes in the front piece of acrylic for the switch and 12V socket.
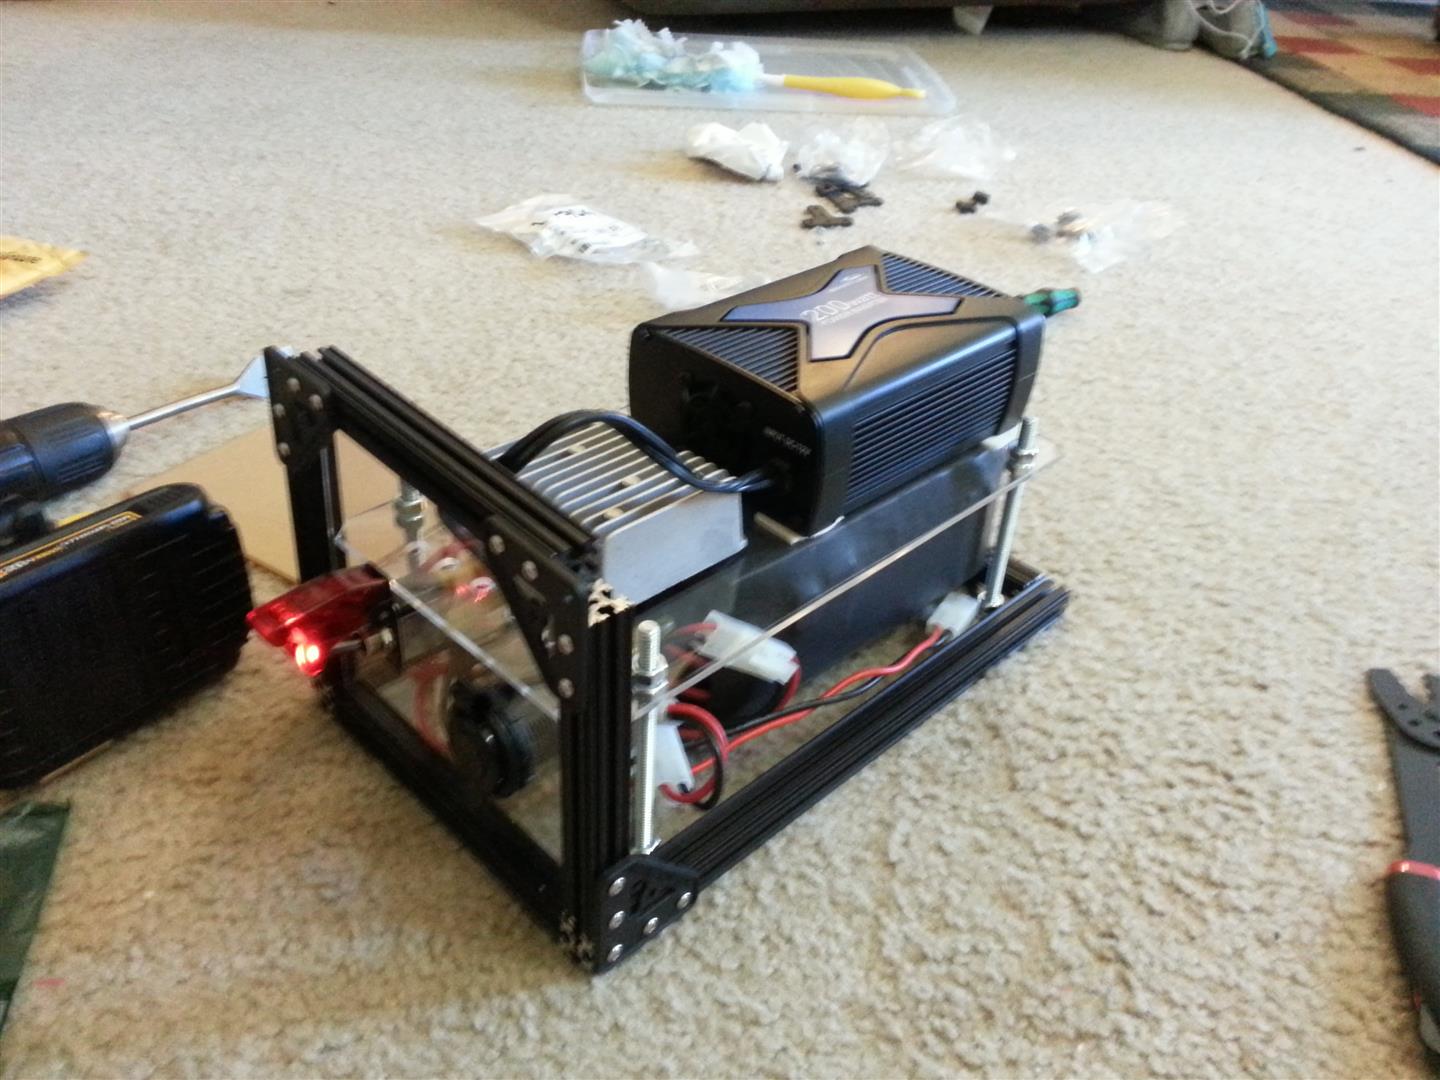
With it some-what assembled, I decided to do a load test. Then, it hit the fan
Don’t buy cheap inverters!
Who new this $20 Amazon special might not be the greatest? With my salt water fish tank feet away, I (poorly) decided it’s $300 LED light bar would be a good load to test my new BatBox. Turned on the BatBox, plugged in the light, and then the magic smoke came out of the light’s power supply. Shocked, I quickly grabbed a digital multimeter to find out what just happened. Steady state the inverter was holding 113V, but I knew there had to be more to this story.
Using a table lamp with a 100W light bulb, I set my DMM to hold min/max while measuring the output of the inverter and switched the lamp on and off several times. This 50% rated load switching resulted to voltage dips and spikes from 60V to 150V! Yikes! Well, this thing is a POS and I can’t return it because I cut off the 12V plug when I wired it in. Anyone want a $20 paperweight?
Take 2
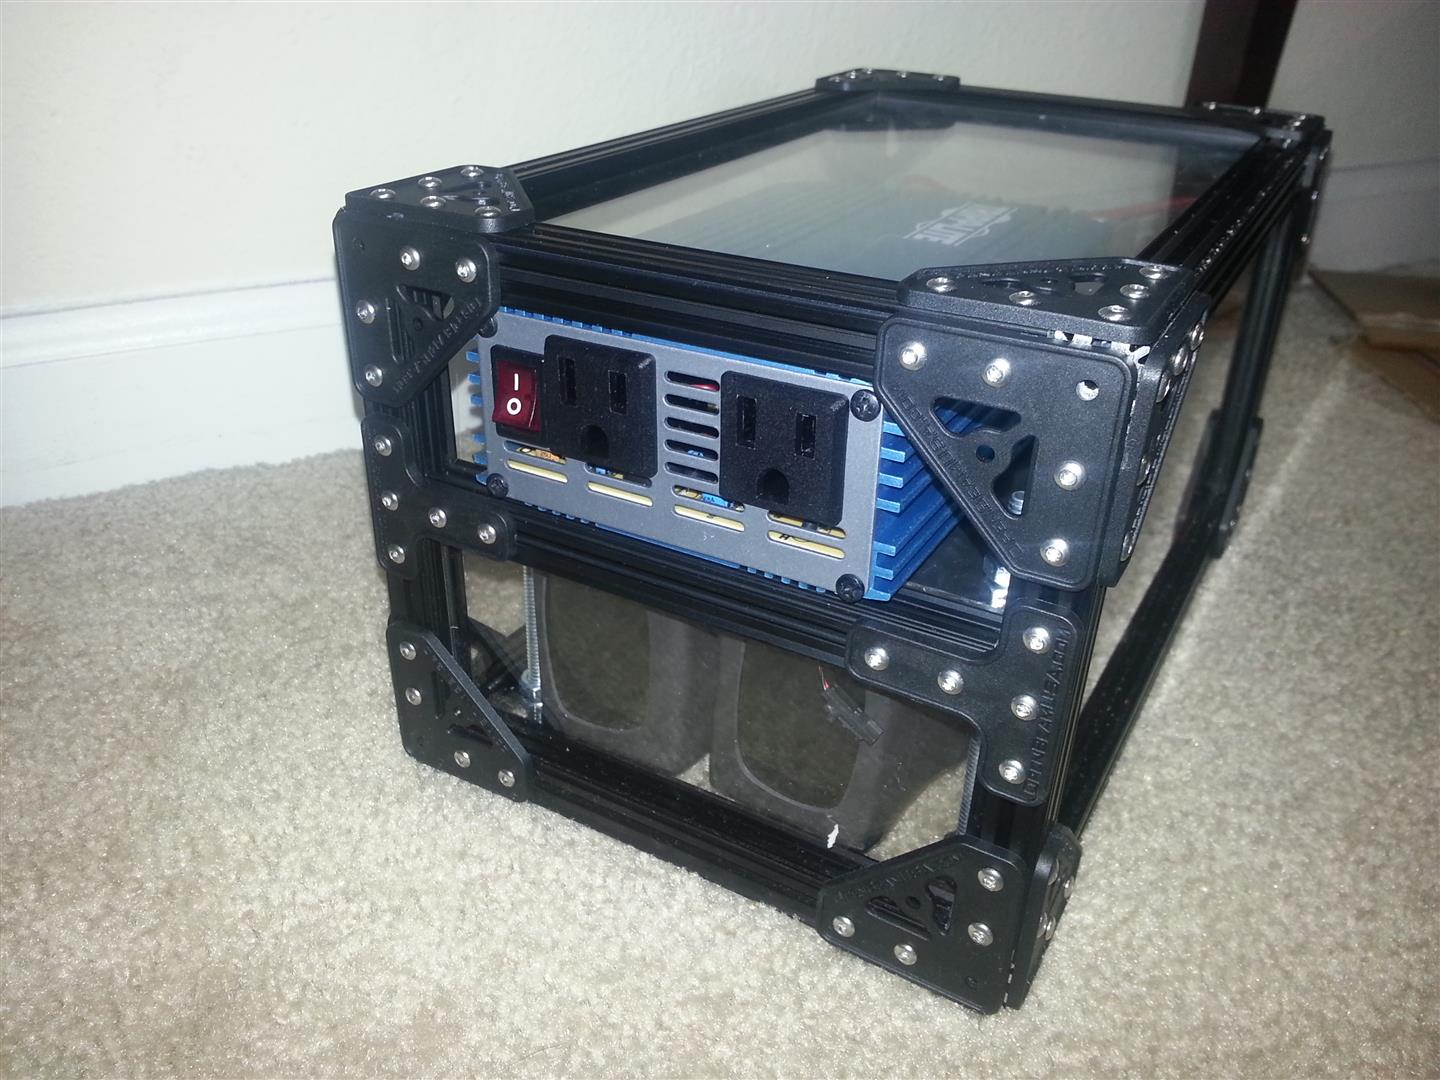
Another week passed and another (more expensive) inverter in hand I continued the build. Since I liked that the first inverter had USB power and the new one did not, I bought a USB socket for the front panel. I also got a 20A breaker since the inverter was now beefier than the 12V regulator. And finally, I learned my lesson and did not cut off the inverter’s power plug, I just embedded a socket for it inside that BatBox.
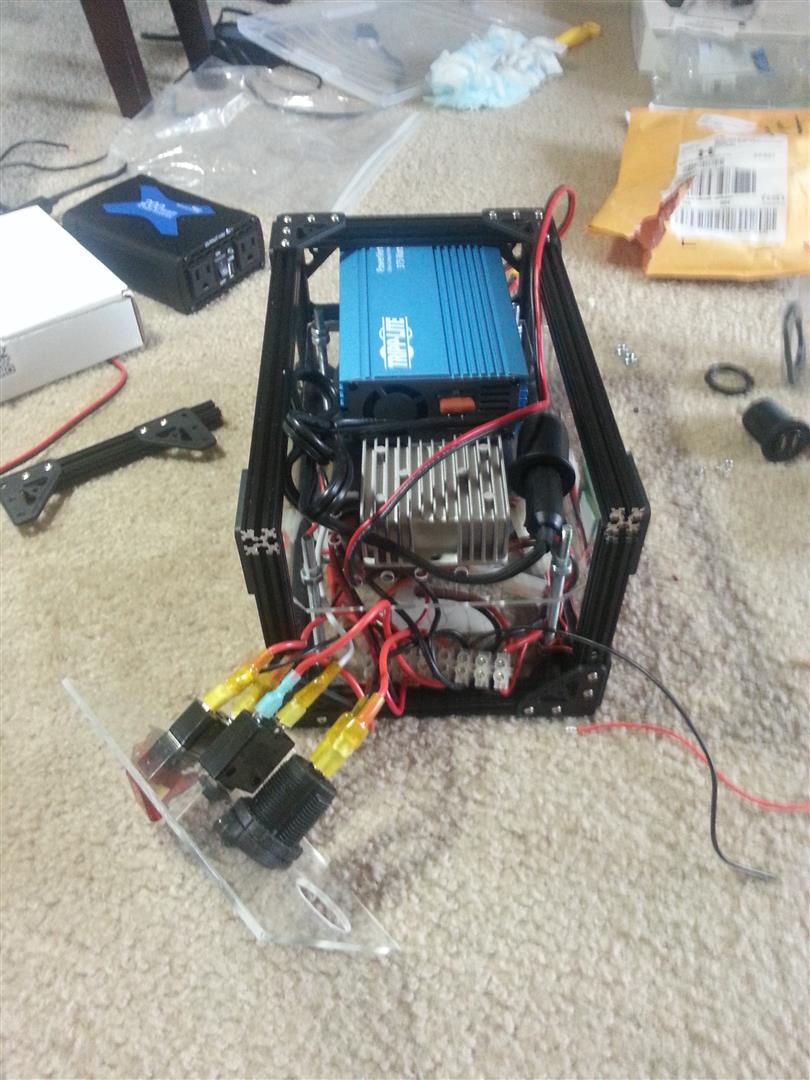
New inverter, front panel
I finished up building the enclosure and I had my BatBox.
Finished
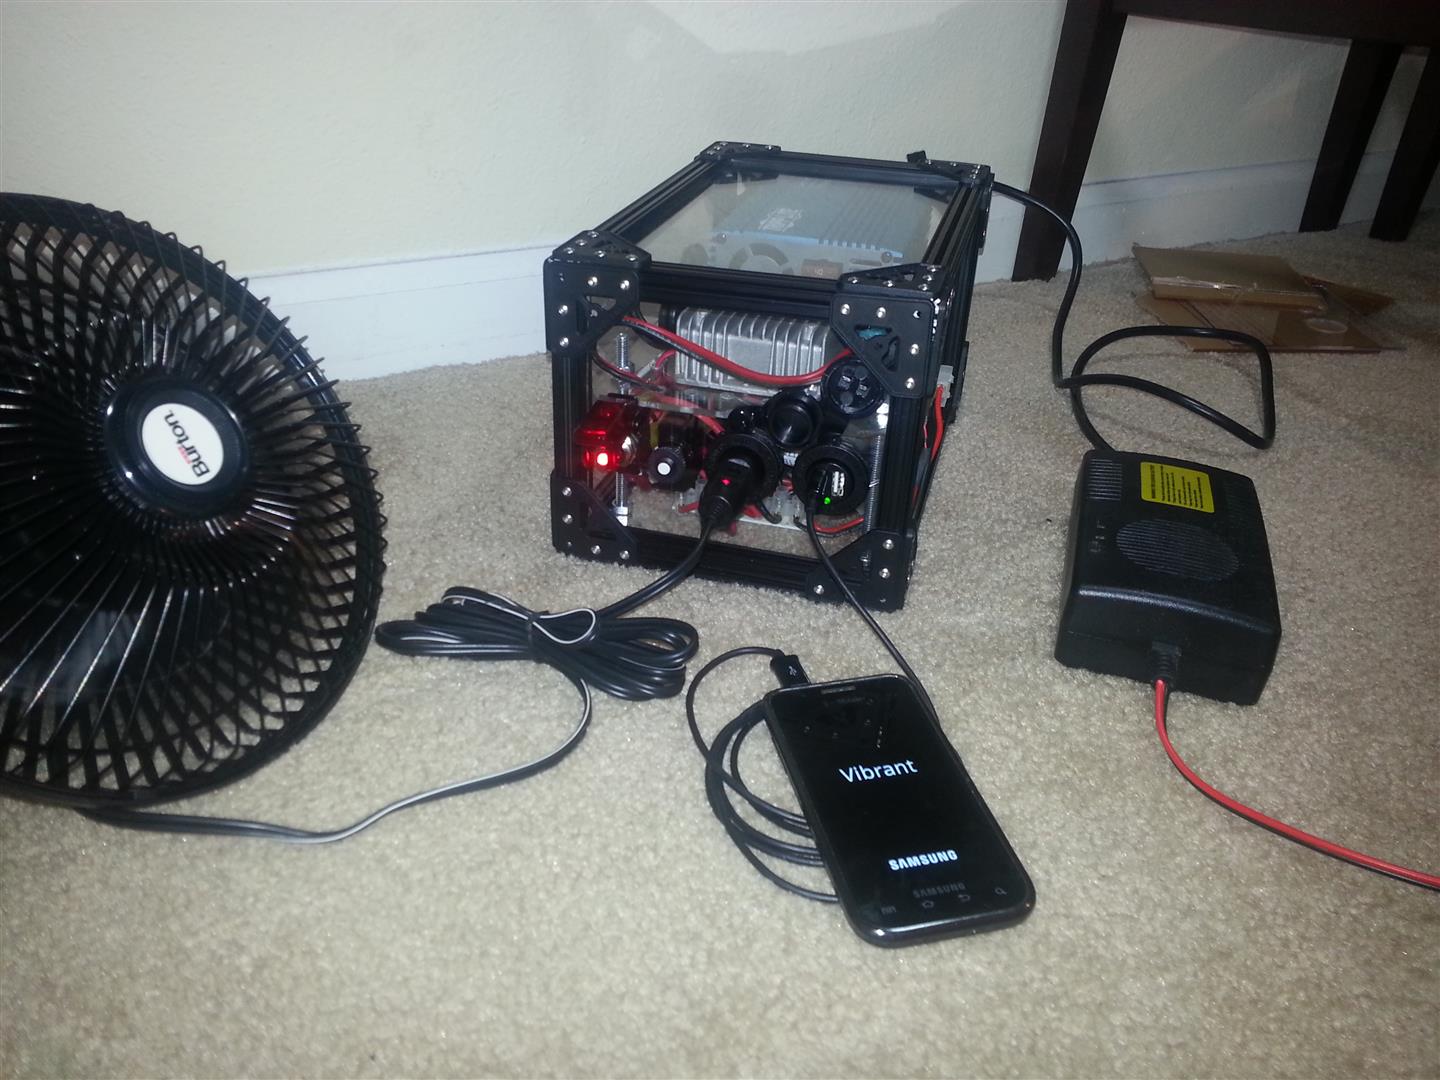
In action
One one side an external plug provides a way to recharge the batteries and a ‘fuel gauge’ shows battery level.

More pictures


Final thoughts on OpenBeam
This was my first time using OpenBeam or any maker level extruded aluminum. Frankly with my lack of work bench and power tools I thought I wouldn’t be able to cut it to lengths I needed. Now that seems silly. With the 3D printed jig and hacksaw I was able to make fairly clean and even cuts.
But I did run into some other issues.
My kickstarter award did not enough extrusion for this project so I needed to order a bit more. I couldn’t find it anywhere. It seems they have been having issues since April and still haven’t sorted it out. The only place I could find it was with Adafruit, they had a few starter kits left. That gave me enough to finish the project. I also ran low on L brackets but next time I’ll just print more. Man I love the future.

Trackbacks / Pingbacks