
 Ok, I know I’m late on posting this, but that pretty much sums up this project: Doing things at the last minute made possible by Open Source. Rewind you calendars to October 25. That’s the day I learned my apartment complex wanted to put on a haunted house and asked me to help. I agreed, worried that Halloween was in 6 days. What could I possibly throw together? I had to do it cheap, and I had to do it quickly. I only had 3 week days to get items ordered and delivered and one night to get everything together and working. If it wasn’t for the large open source community behind Arduino, I couldn’t have gotten this done.
The Plan
Six days. That’s all I had. I wan’t alone, I had fellow tenets in the complex helping out. They were good at construction and took care of the maze walls and other major tasks. The plan and execution was up to me.
First, I had to plan out the haunted House. I turned to Google and Pinterest ( I can’t believe I’m admitting this) to get ideas for the rooms. This is the list of what I came up with:
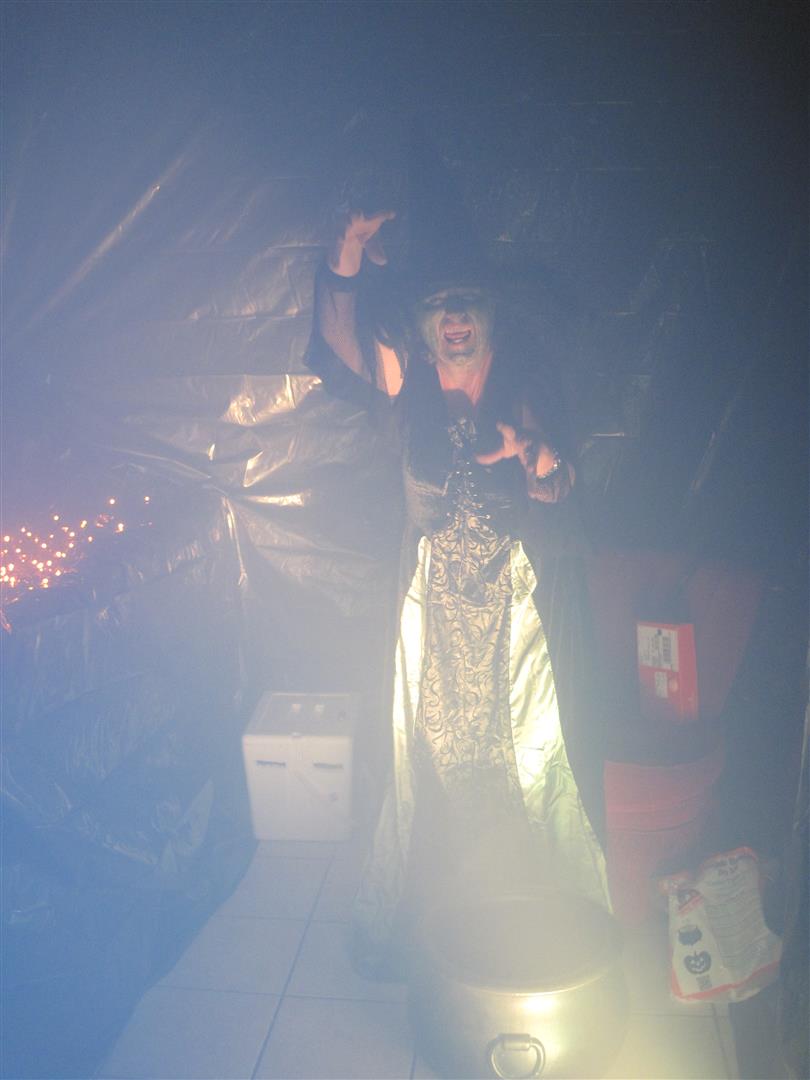
- Witch’s Lair – Bubbling cauldron in the kitchen with an actress playing the role of a scary witch
- Dot room – 5 dozen day-glow masks in an dark room with only blacklights; hidden actor ready to scare guests
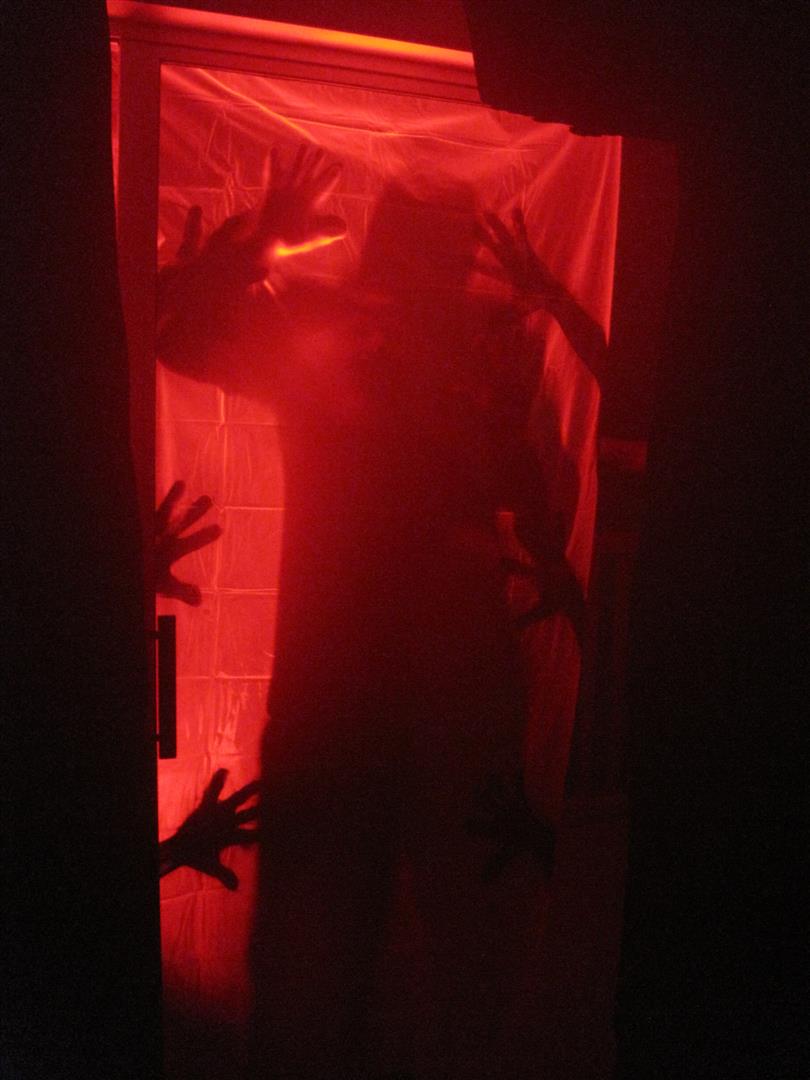
- Slasher Window – Opaque window with a killer outside
- Scary Hallway – Free floating glowing eyes in the night
- Frankenstein’s Lair – The monster awakes in the scientist’s laboratory
- Haunted Bathroom – A spooky static room
Two of these rooms require some electronic automation, Witch’s Lair and Slasher Window. I ended up creating the automation by throwing together some parts I had on hand and adding a pinch of Arduino. This post centers on these two rooms. Everything that went into the project happened in just a few hours the night before. I didn’t have time to test. There’s a video walkthrough of the house at the bottom of this post.
The Approach
If I had a month to plan I could have rolled my own boards and written my own libraries. I could have sized enclosures and performed design testing. But I didn’t have a month. I only had a night. People harp on Arduino for being a crutch and mocked when engineers choose to use them. Well to me it’s a tool like any other, and in this case it was the right tool for the job.
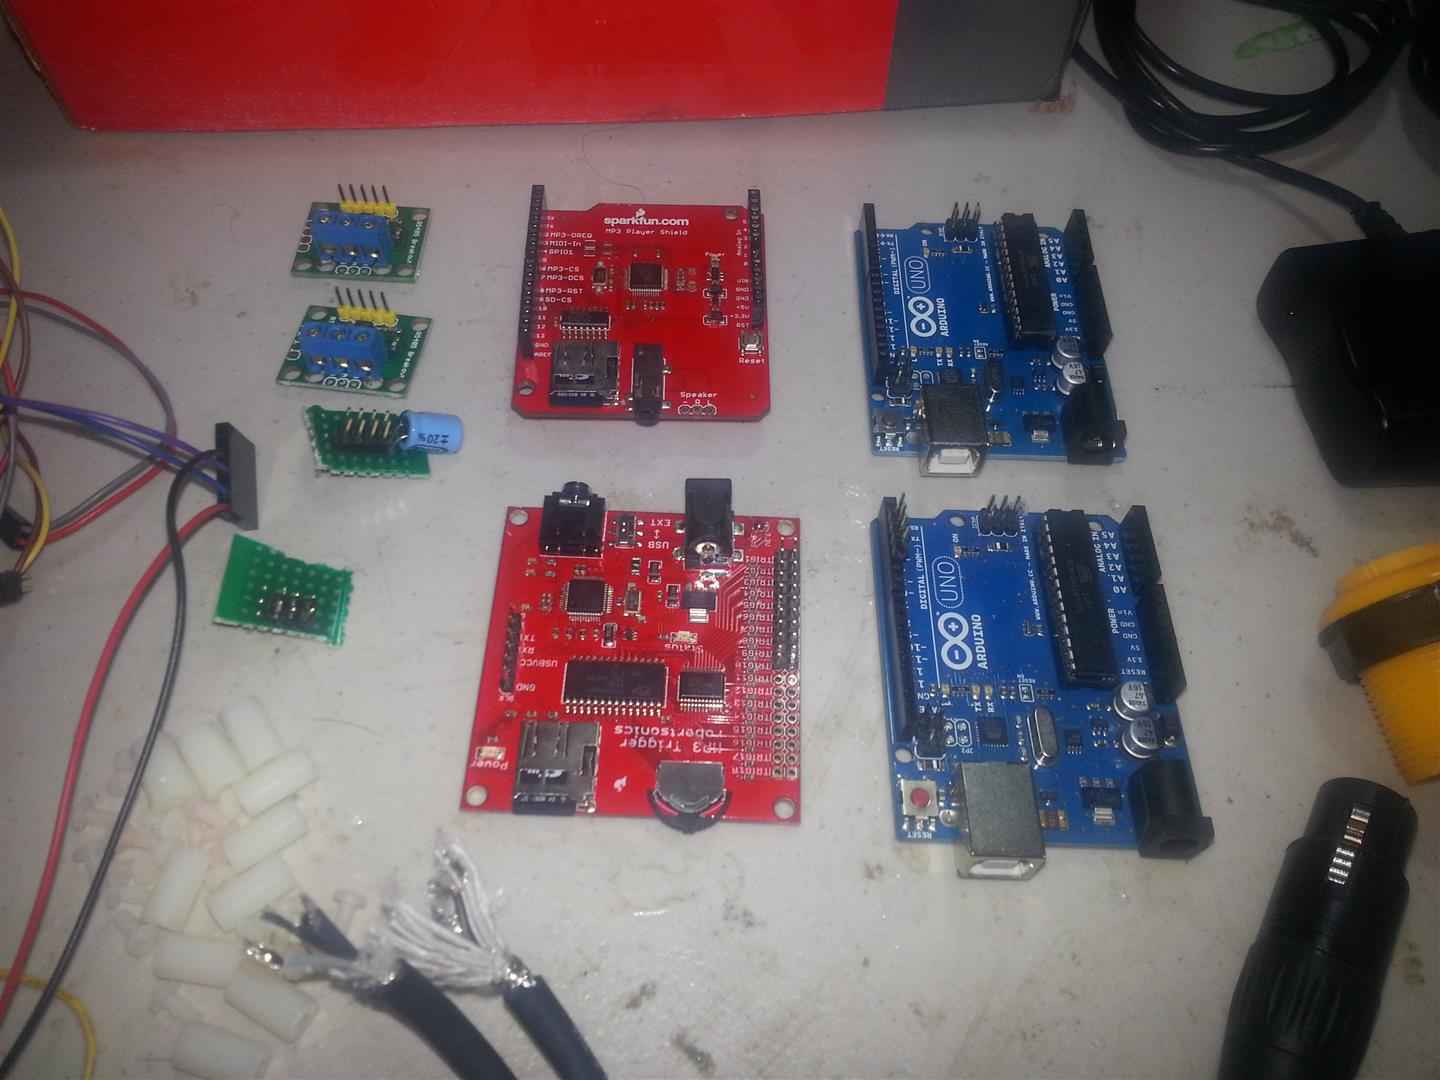
My hammer, for now. Click to enlarge
Sound and light can make or break a Haunted House and automation is key. Static displays are boring and are the common cause of a failed haunted house. Something needs to move, to jump out, to scream and flash in your face. Witch’s Lair and Slasher Window both need a sound and light element to be effective.
Witch’s Lair was a scary scene showing a witch churn her cauldron in the kitchen. The plan was that the room started dark, and when the actress (the witch) pushed a button the lights and sound would come on to startle the guest. The lights would set the scene of a glowing concoction casting light in the room with the occasional lighting strike accompanied by a audio track of laughing witches.
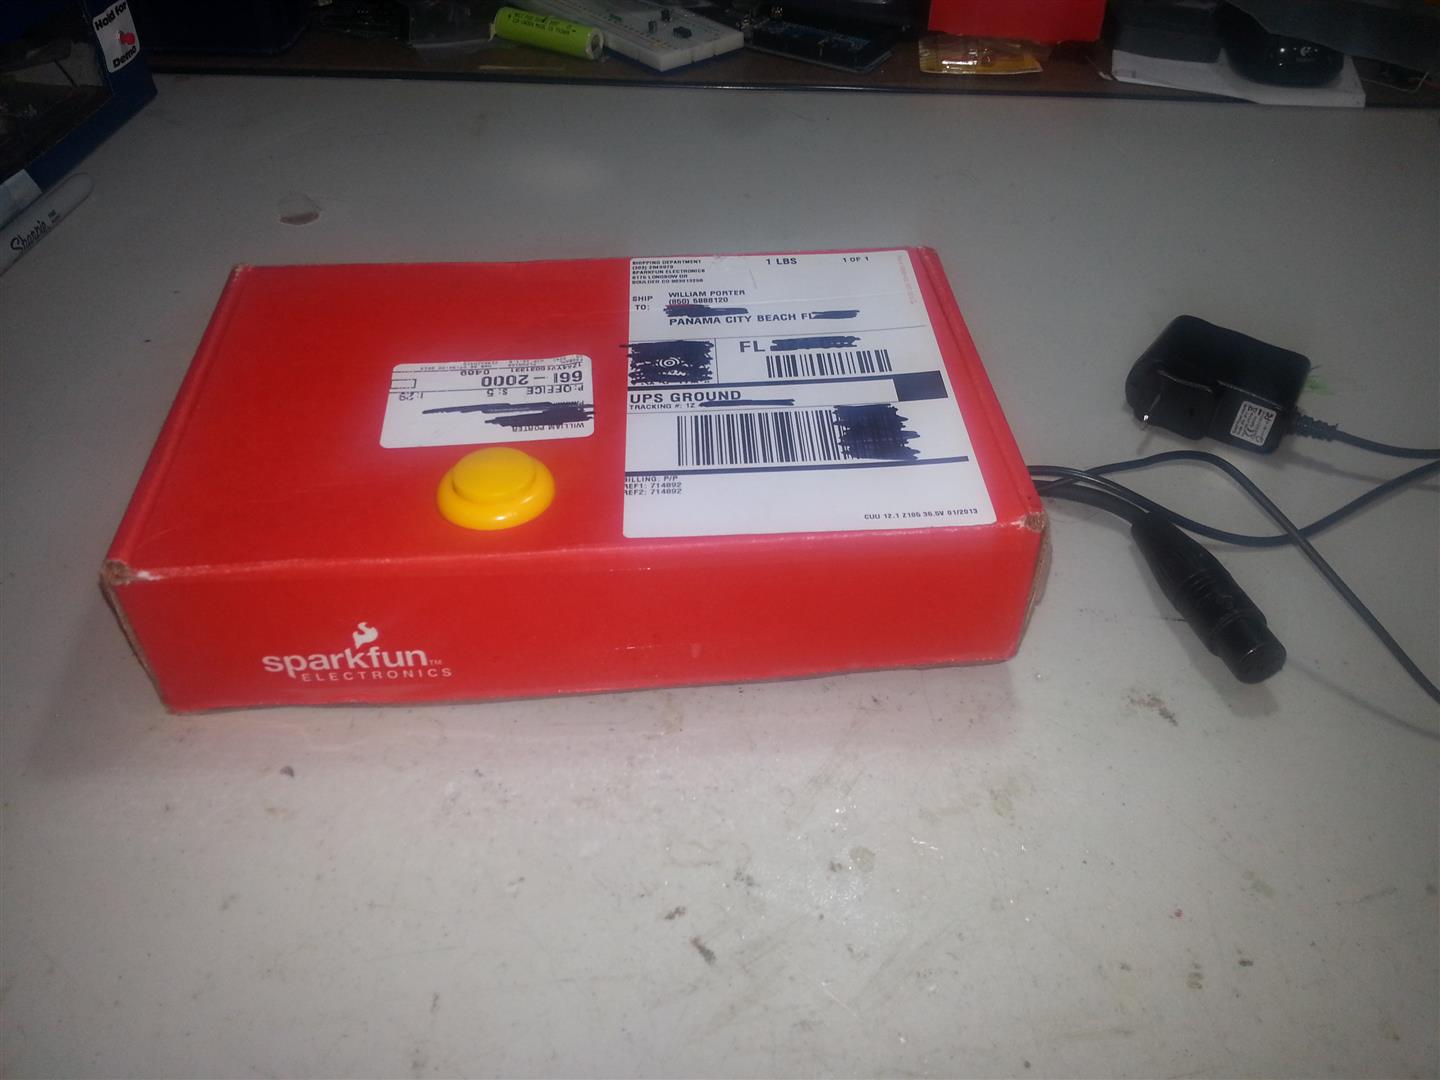
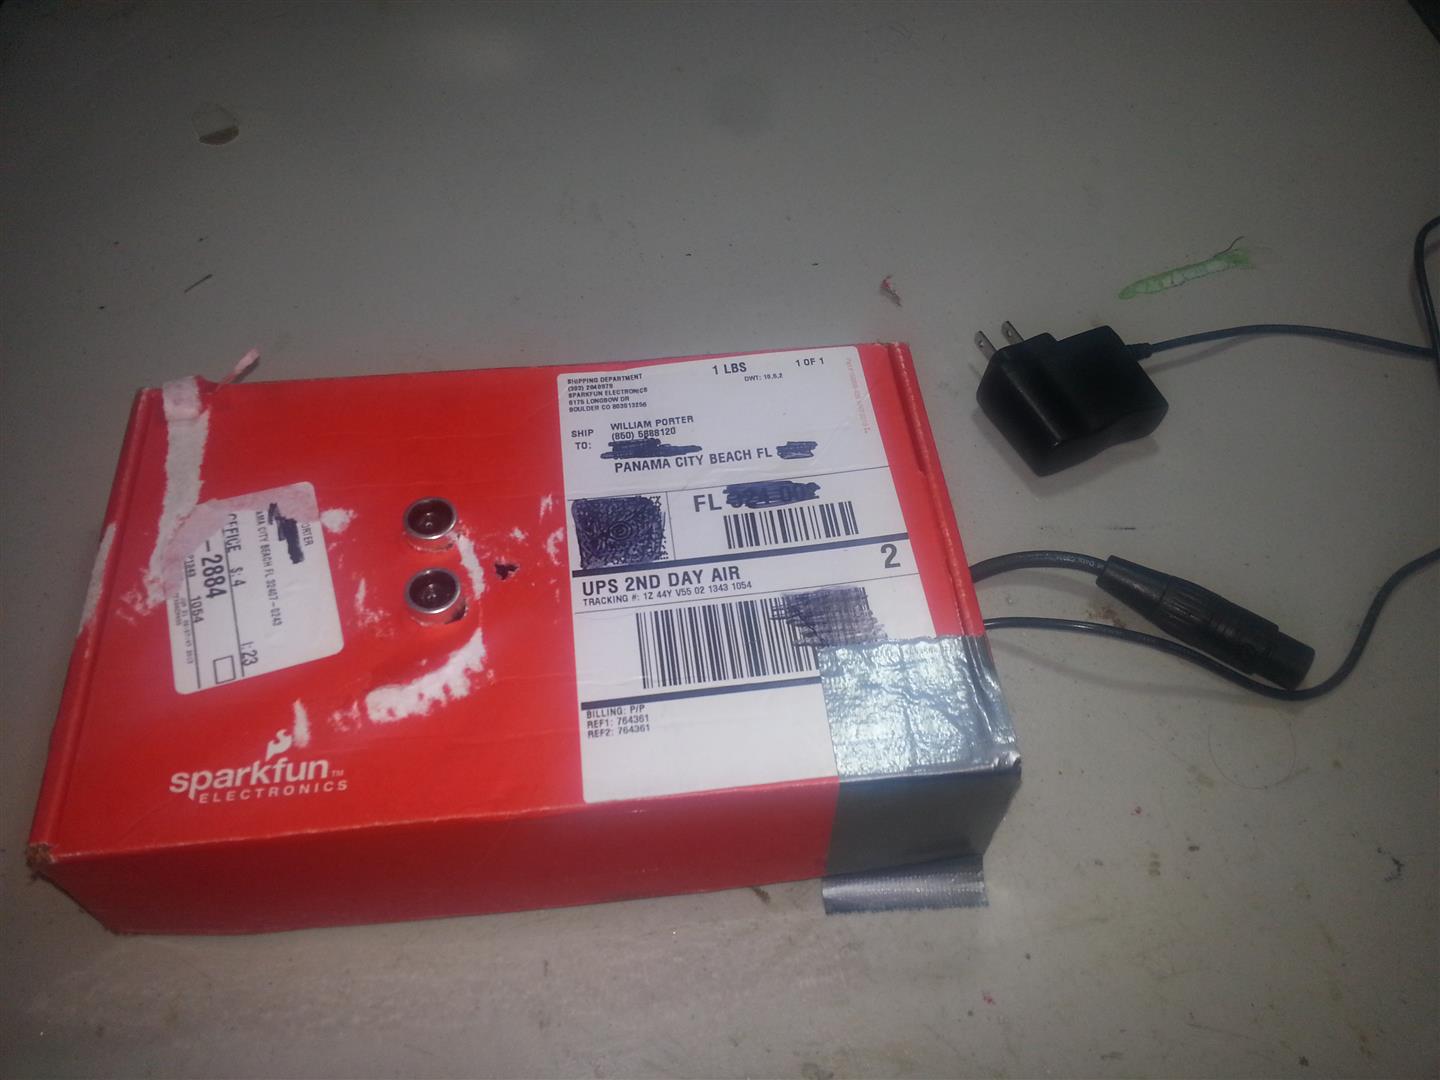
Find the Sparkfun box
Slasher Window consisted of a seemingly innocent and dark sliding glass door guests had to walk by to continue through the maze. When in the right position, a strobe light on the opposite side of the opaque window would activate along with standard ‘thriller killer’ sound effects. An actor would cast a silhouette on the window of an oncoming killer.
Hardware
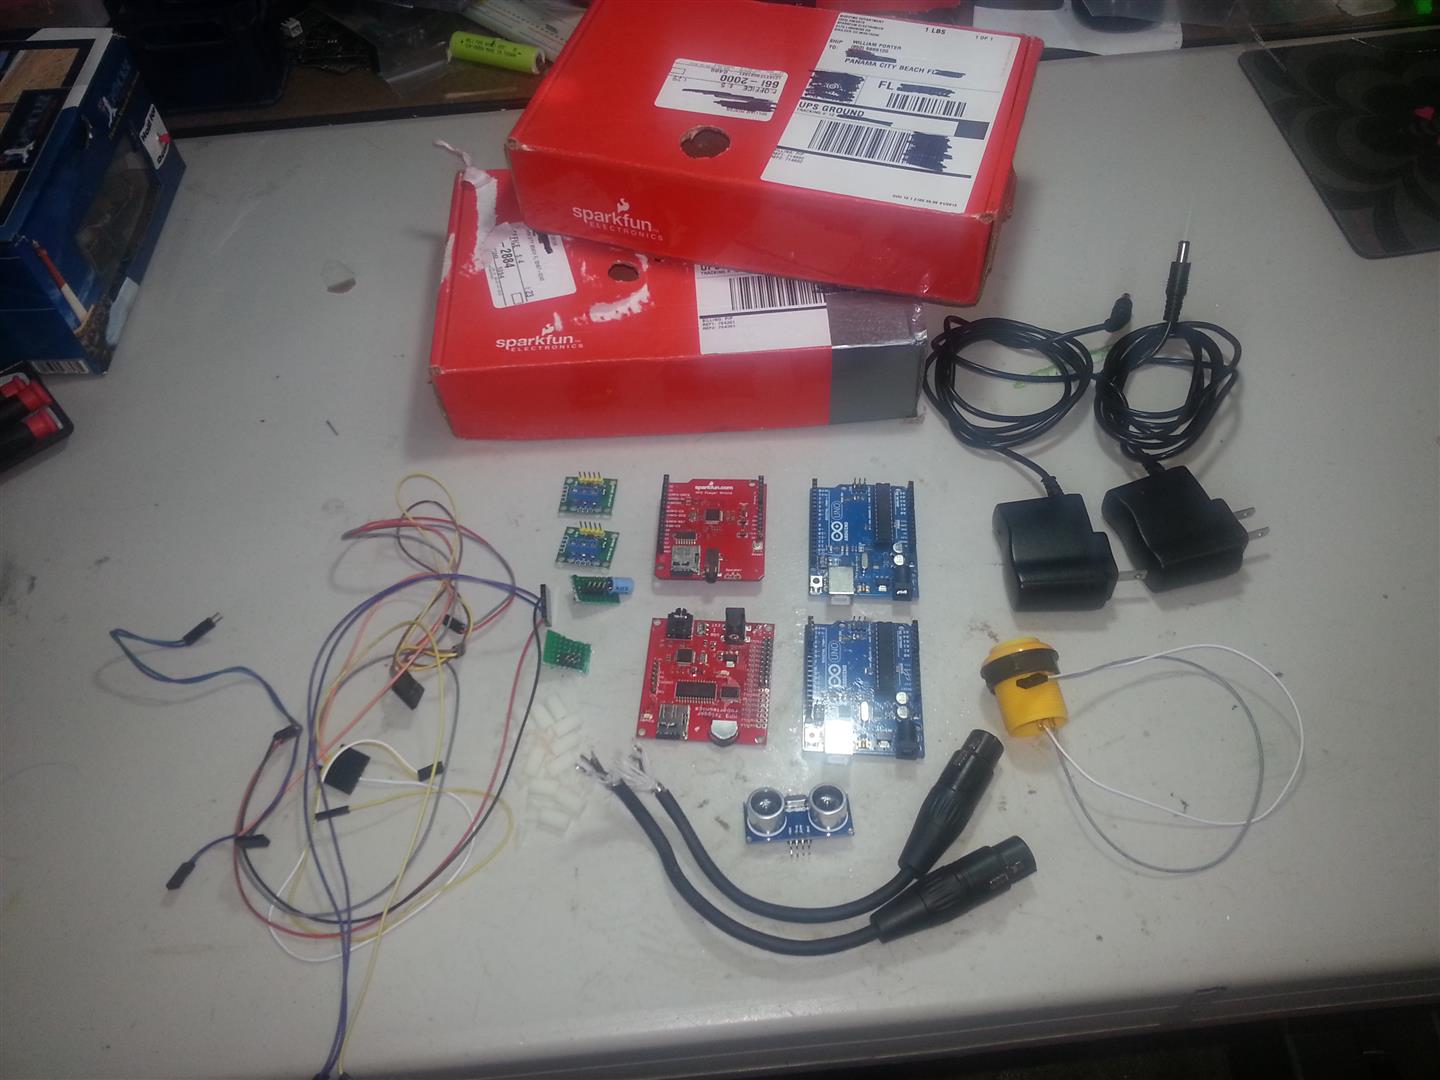
I had a few Arduino boards laying around, as well as a Sparkfun MP3 Shield and MP3 Trigger board. Both when paired with an Arduino can provide the automation and sound elements. For the light element, luckily I had access to several DMX controlled RGB LED par cans like this one:
-
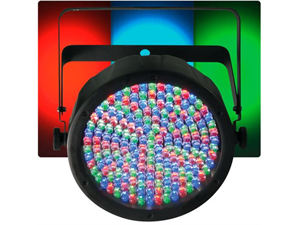
DMX LED light
These lights are controlled by a protocol called DMX, which is just RS485. With the right hardware an Arduino can easily talk DMX to these lights. Thankfully there is a seller on Amazon that sells inexpensive RS485 breakouts and accepted Amazon Prime (at the time) for fast shipping. Sparkfun sells a similar board. I also ordered the cheapest 3 pin DMX pigtail I could find to cut up and wire to the breakouts.
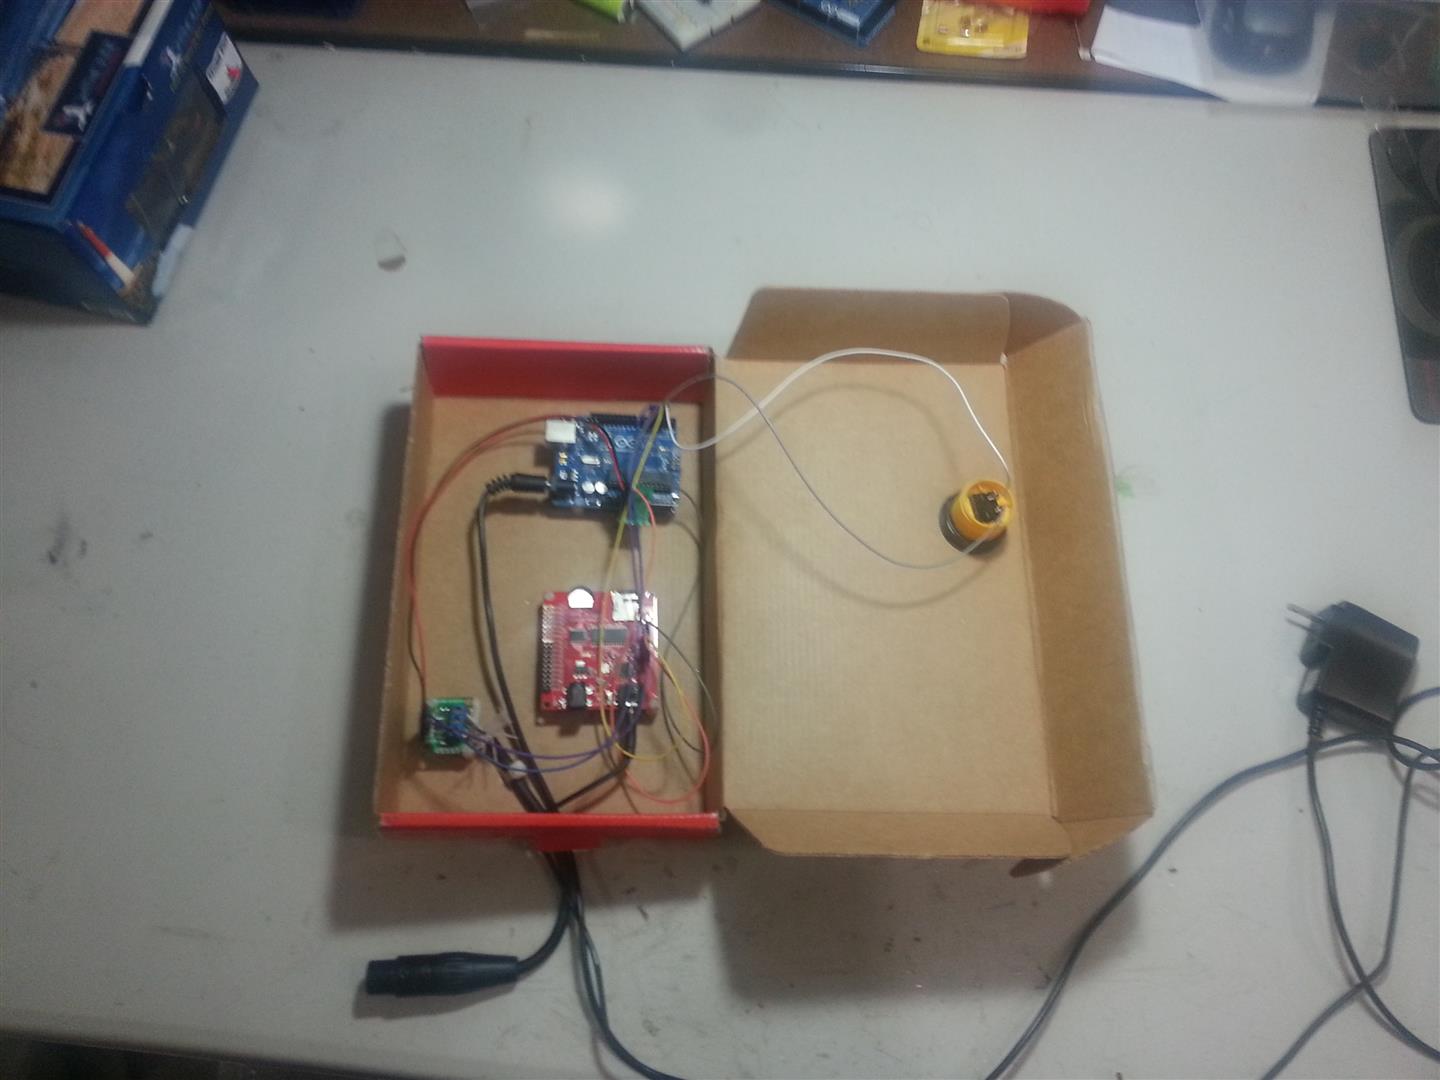
To protect my last minute project, I turned to the iconic Sparkfun box. It’s surprising resilient for a cardboard box and perfect for the temporary installation.
Sparkfun Project Enclosure
One room needed to be user operated. When the guests were in position the ‘witch’ would push a button to start the light and sound effects. I used an arcade button from Sparkfun with one Arduino and the MP3 trigger for this room.
-
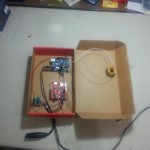
- Sparkfun Project Enclosure
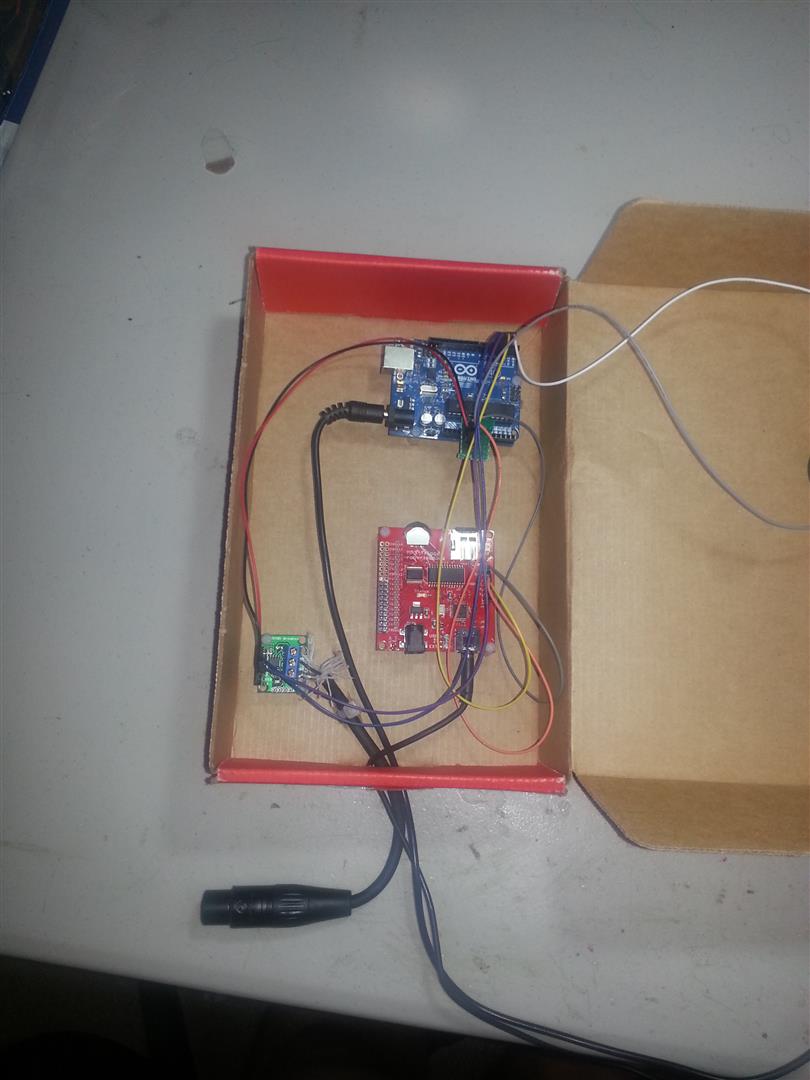
The other room, Slasher Window need to be fully automated. I used a Ping ultrasonic sensor to detect when guests were approaching and activate the sound and lights.
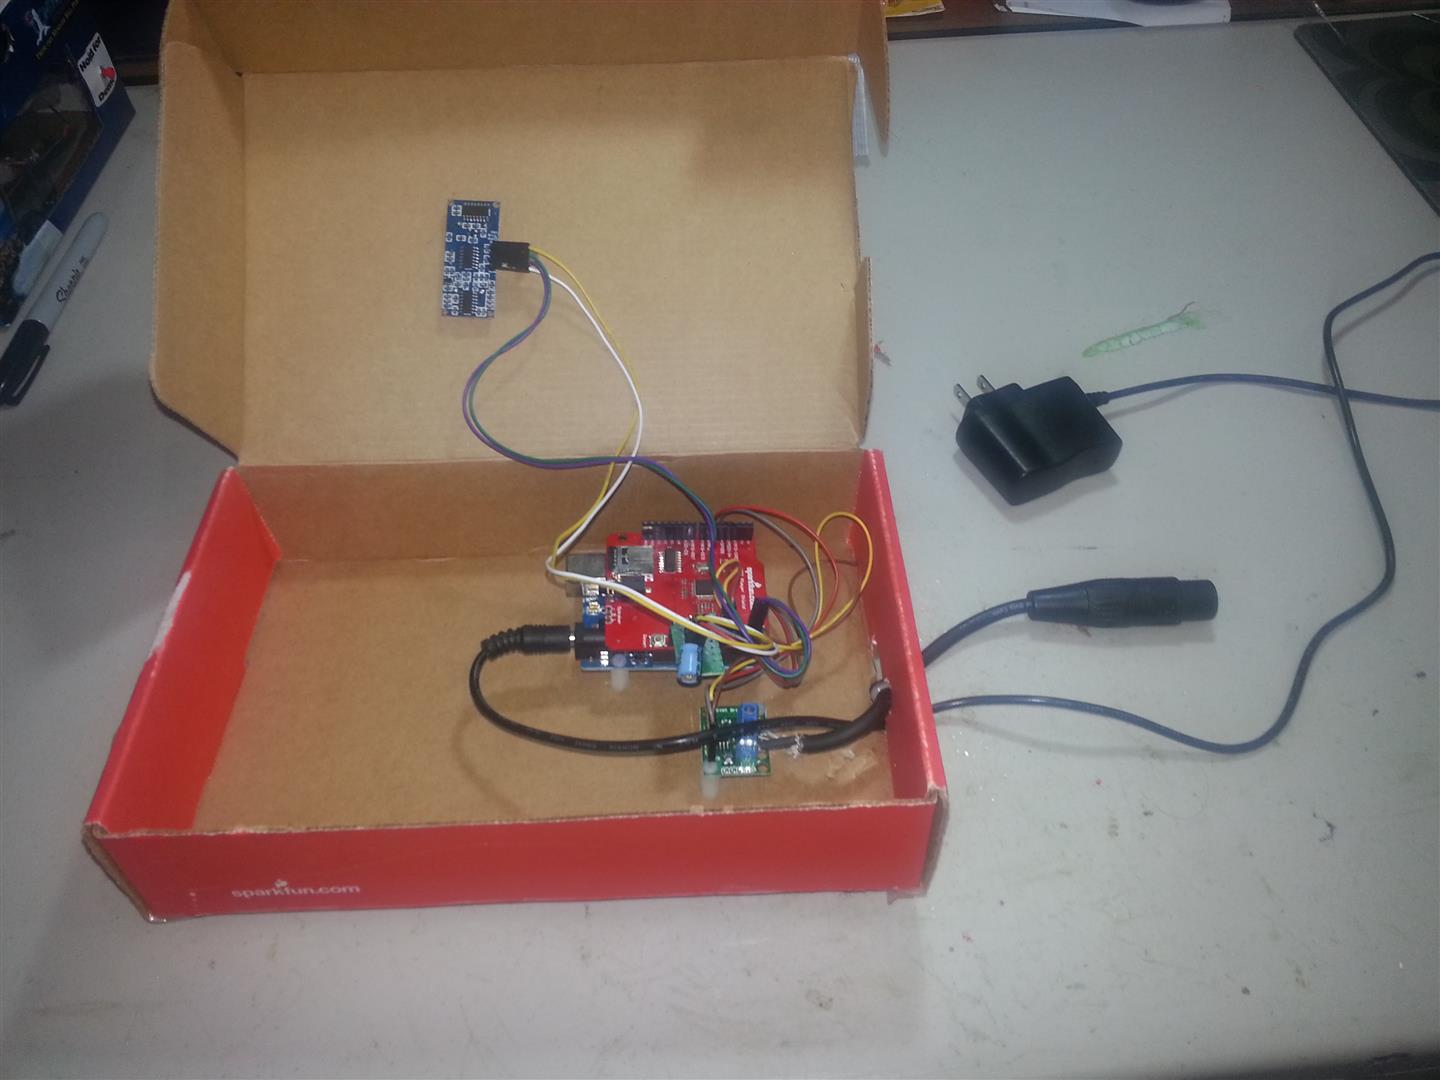
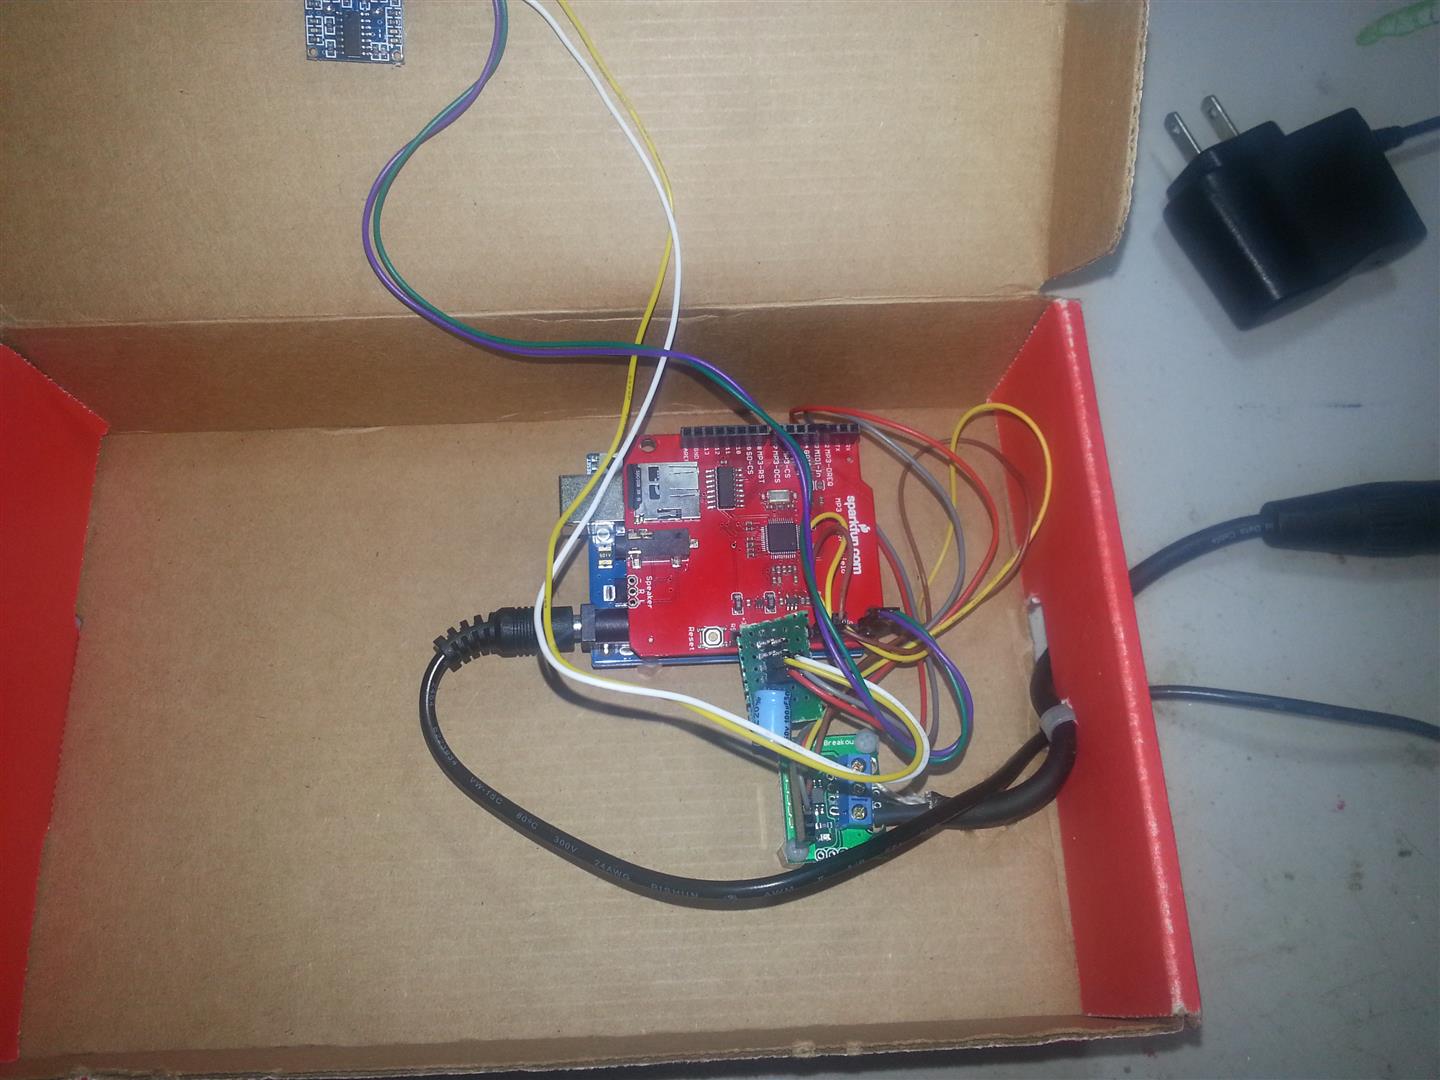

Both kits included plastic standoffs to mount the boards, the RS485 breakout wired to a 3 pin DMX cable, a 9V wall wort power supply and some some perf board with pin headers to distribute power to all the devices.
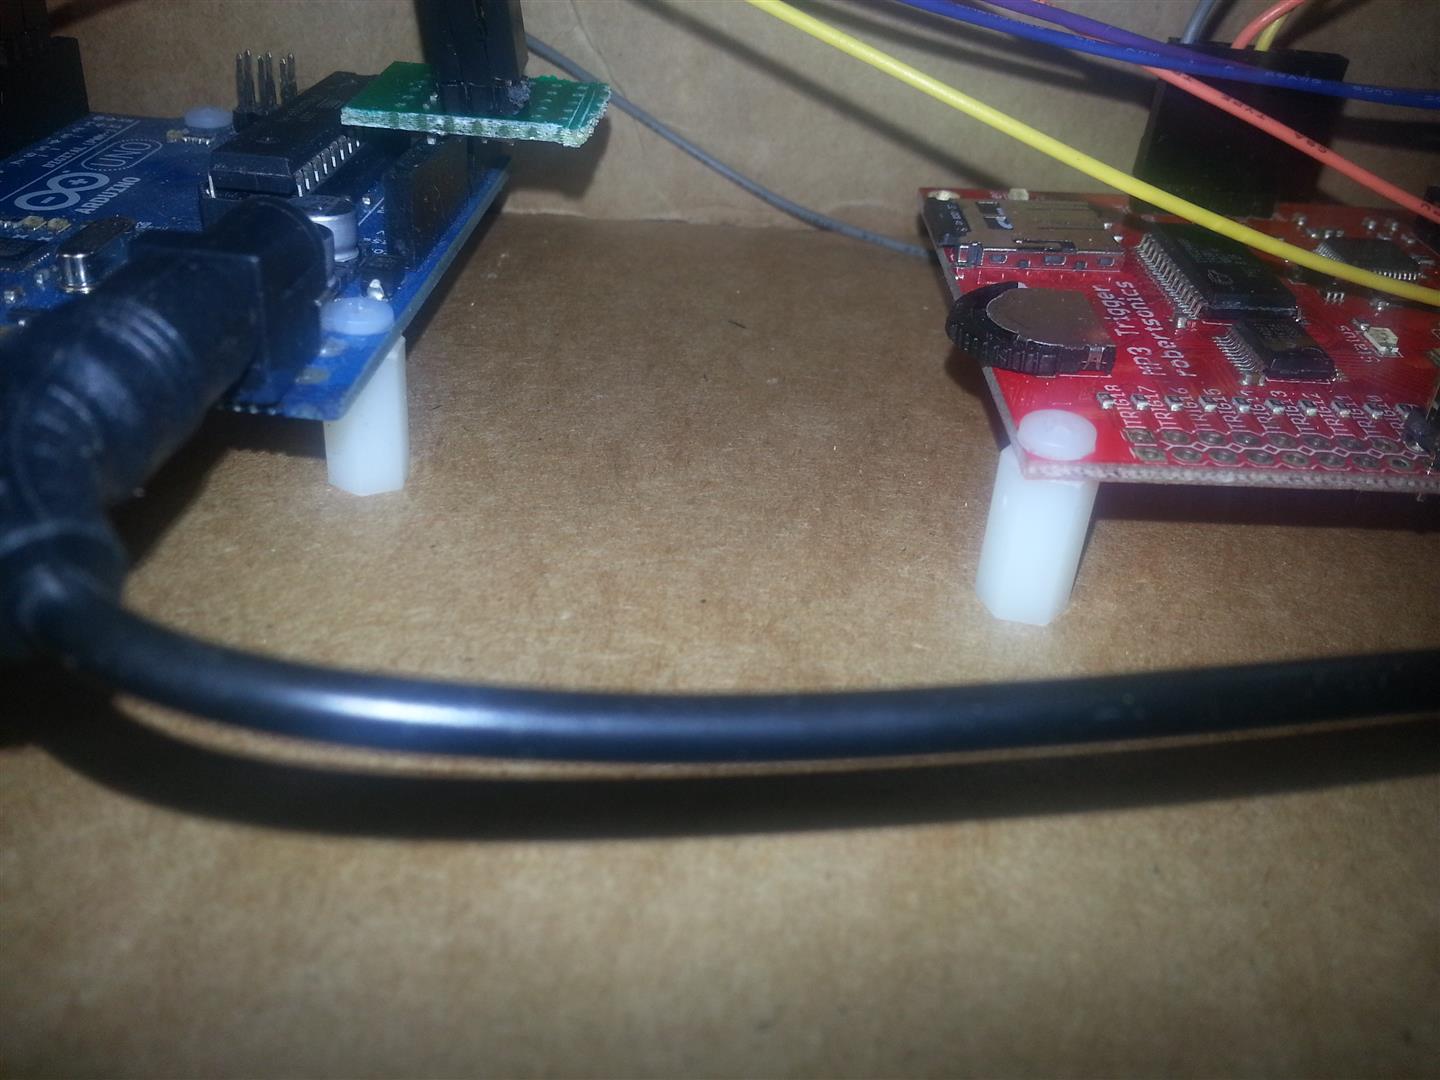
Mounting
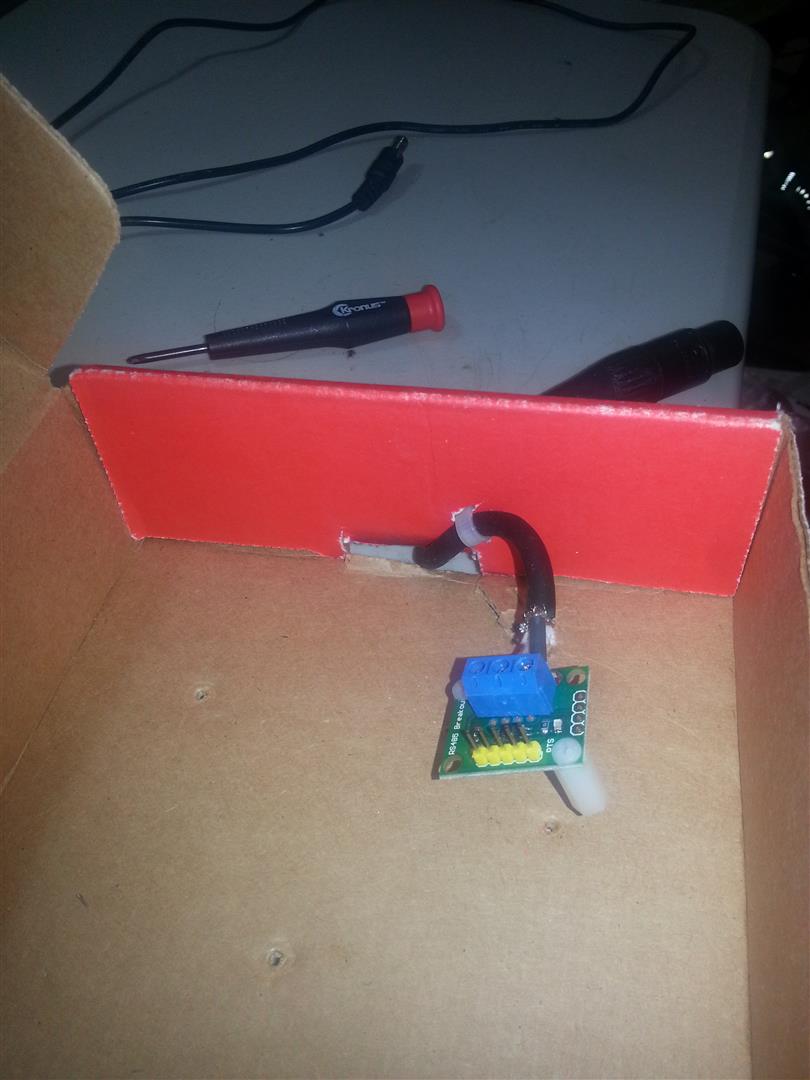
Stress relief zip tie for the DMX cable
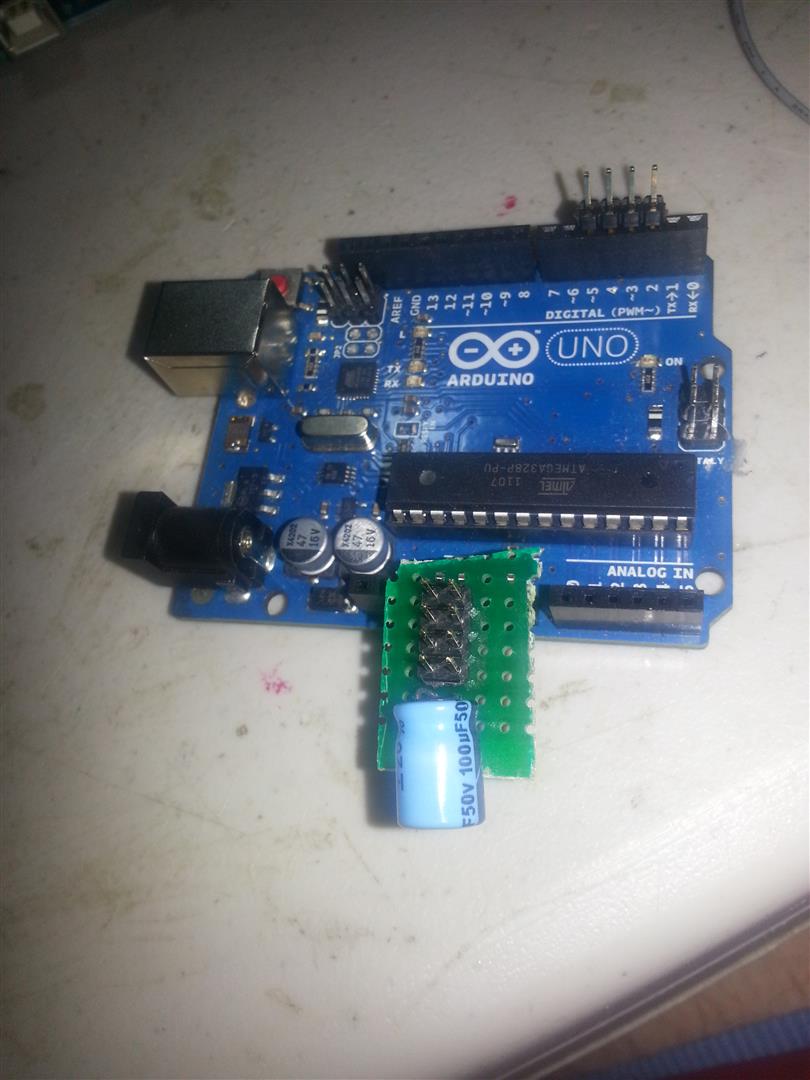
The 5V ‘power strip’
While the Witch’s Lair box simple stayed by the actress’s side, the Slasher Window had to be mounted for the sensor to detect the guests. This would later be covered up by black plastic with holes for the sensor.


You can also see the computer speakers used to create the sounds in those photos.
Software
For the software side, a quick Google search pointed me in the direction of a simple DMX library for Arduino. Both Arduino’s use this library for the DMX control. Of course I used my own library to run the MP3 Shield, and pulled in this easy library to run the MP3 Trigger board.
Witch’s Lair was a scary scene showing a witch churn her cauldron in the kitchen. The plan was that the room started dark, and when the actress (the witch) pushed a button the lights and sound would come on to startle the guest. I used Vixen to create a spooky 30 second light show to simulate light from the bubbling brew complete with lightning effect.
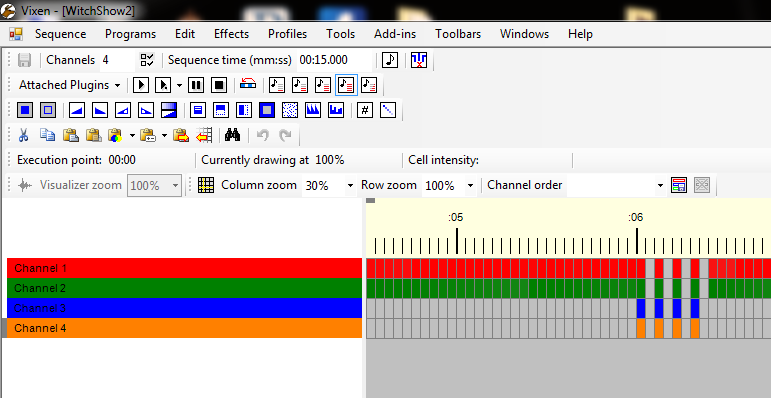
Vixen Light Sequence
A quick trip through my Vixeno script gave me an array of brightness values I could drop directly into my Arduino sketch.
static uint8_t vixen_channels = 4;
static uint16_t vixen_frames = 300;
static uint16_t vixen_frameduration = 50;

const PROGMEM uint8_t vixen_show_data[4][300] = {
{0,255,255,253,251,249,255,255,253,251,249,247,245,243,241,255,255,253,251,255,255,...},
{255,255,255,255,253,255,255,255,255,253,251,255,255,253,251,249,247,255,255,255,...},
{0,0,0,0,0,0,0,0,0,0,0,0,0,0,0,0,0,0,0,0,0,0,0,0,0,255,0,255,0,255,0,255,0,0,0,0...},
{0,0,0,0,0,0,0,0,0,0,0,0,0,0,0,0,0,0,0,0,0,0,0,0,0,0,0,255,0,255,0,255,0,255,0,0,0,0,0,...}};
When the actress pushed the trigger button, this code would run to start the sound effect and pipe out the DMX light data:
  //see if button pressed
  if(!digitalRead(2)){
    //start sound playing
    trigger.trigger(1);
    //loop through all frames and channels writting out light show to DMX light
    for(int i = 0; i<vixen_frames; i++){
      long start = millis();
      for(int y = 0; y<vixen_channels; y++){
        DmxSimple.write(y+1,pgm_read_byte(&(vixen_show_data[y][i])));
        }
      delay(vixen_frameduration - (millis() - start));
    }
The DMX light had 4 channels: red, green, blue and amber. All 4 channels needed to be updated for every frame of the show.
Slasher Window was much more simple, when the sensor activated a few seconds later one LED light would strobe red behind the actor on the other side of the window.
void loop() {
  //leave light dim blue for all clear
  DmxSimple.write(3,1);
  //read sensor
  long range = getRange();
  Serial.println(range);
  if(range < trigger && range > 0){
    //warn the actor by turning off dim blue light
    DmxSimple.write(3,0);
    //wait for it
    delay(2000);
    //play sound effect and strobe light!
    MP3player.playTrack(10);
    for(int i=0; i<40; i++){
      DmxSimple.write(1,255);
      delay(50);
      DmxSimple.write(1,0);
      delay(50);
    }
    delay(5000);
  }
  delay(150);
}
I wasn’t sure how wide the path in front of the window would end up being so I wrote in an auto-cal routine during start-up to set the trigger threshold. That way no small guests could escape the horror and the wall wouldn’t trigger the scene.
  //read sensor once at first
  trigger = getRange();
  //set trigger threshold just shorther,
  if (trigger == 0)
    trigger = 36;
  else
    trigger -= 4;
Both Arduino sketches are available for download here -> HauntedHouseArduino
Result
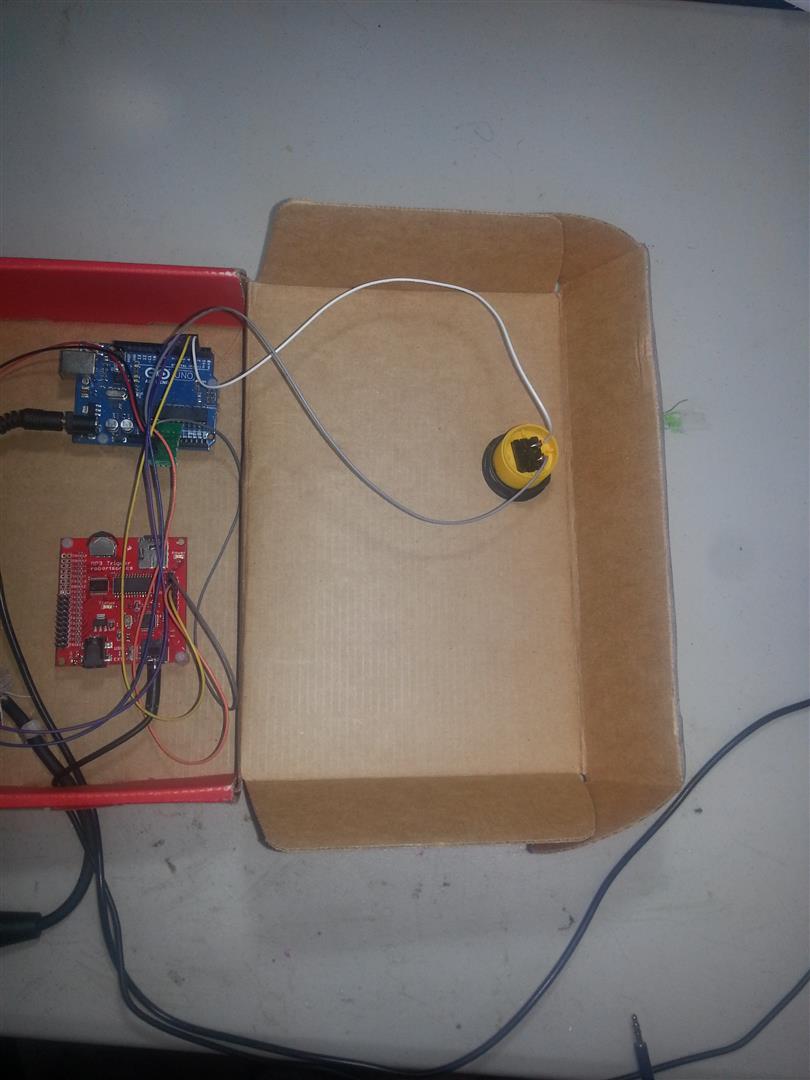
The haunted house was a smashing success. For something thrown together the week before Halloween, we scared the bejesus outta some people and the automation worked well all night. This is a picture of everything that went into the automation, taken during breakdown:

Trackbacks / Pingbacks