 It’s the time again and I bring you an update to my ever aging ‘Mad Scientist’ Halloween costume. What started out as a college budget built led labcoat with just a clock and 4017 decade counter has evolved to include now two Arduino micro controllers. One runs the individual LED rows you see running random patterns. The second runs the scrolling marquee hanging off my chest. Everything is run off a 14.4V Li-Ion battery pack that I custom built. Even the LED Marquee is custom built.
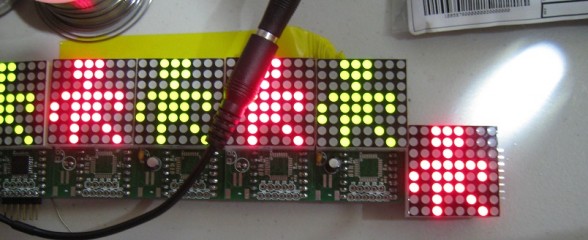
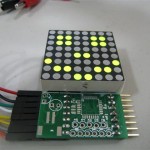 I’ve set out designing what I’d like to call ShiftTrix, a Arduino powered Marquee. The idea is this, low cost LED matrix driver boards that are easy to work with at (hopefully) around $10 a board including the LED matrix itself. A similar serial driven LED matrix can go for $35 per 8×8 matrix. That can add up fast if you want to chain more then one together for a large display. Instead, my design is 1/3 the price, and can easily be chained together to create larger displays.
Ready, Set, Oscillate! The Fastest Way to Change Arduino Pins
Posted in Tutorials by Bill
18 Aug 2010
There are many ways to change an output pin. The way we know and love is the famous digitalWrite() function. (Spoiler: Want a faster digitalWrite? Download Here!)
But even the Arduino Reference claims that it is not the most efficient. The Arduino functions do a lot of error checking to make sure the pin is configured right and has to map Arduino numbering to actual IO ports. All this cost processor cycles, and time. But how much? This article is not to teach you how to useIO registers, you can read about it on the Arduino Port Manipulation page. This is to cover exactly how inefficient the Arduino functions are.
42 Comments // Read more..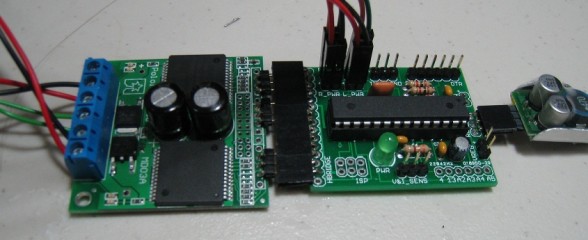
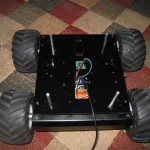
It’s been a while since I posted an update on SAGAR, but here’s the latest.
I wanted her to go faster. My original motors would only do about 1.2 m/s tops. Well, with a little help from a friend, I found new motors that would bring up the top speed to well over 3 m/s. However, they require more current to reach that speed, more then my original controller could handle. So it had to be replaced.
20 Comments // Read more..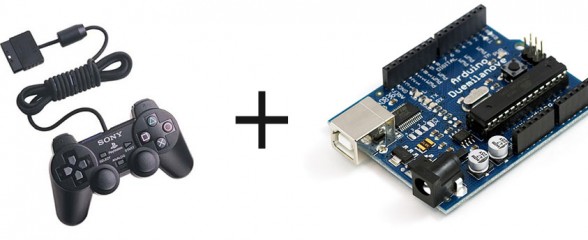
Want to interface a PlayStation 2 Controller with an Arduino Microcontroller? You have come to the right place. Below you will find a link to download an easy to use library that takes care of all the interfacing for you, so you can start using the controller right away for your project. Don’t forget to link your cool projects in the comments, I’d love to see what you do with the library.
587 Comments // Read more..Here is a video of the LED Lab Coat with the better PWM code. If you are interested in how I programed 8 channels of software PWM, here is the source available for download.
Read more..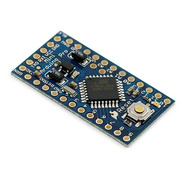 Part 2 of my documenting of my robot project focuses on the just completed “Smart Motor Controller”. I call it a smart controller because, unlike other motor controllers on the market, mine utilizes feedback from the motors to precisely set wheel speeds and report back how far the robot has traveled.The brain of the controller is an Arduino Pro mini, pictured in this post. The actually driver H-bridge is a Ardumoto from SparkFun.
A bad video of the new Lab Coat. I rewrote the PWM code after this and the fades are more smooth. Better video coming soon.
Read more..


