

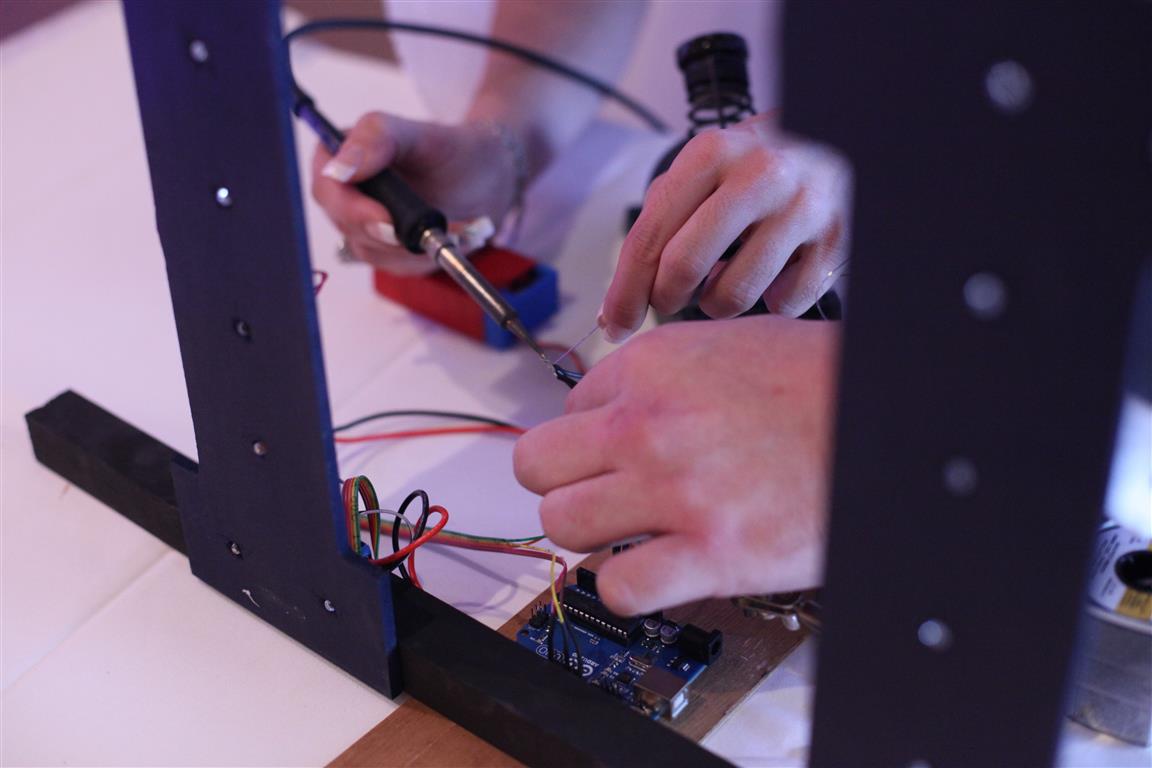
When it came time for Mara and I to draft our wedding ceremony we pondered how we could incorporate an element from our theme. We had 4 days to go and only some vague ideas. Mara bought some wood letters to spell out ‘I Do’ and wanted to use them in the ceremony. We also joked about using a soldering iron during the ceremony; but how could we do it tastefully? Then it hit us, a common wedding ceremony know as the “Fishermen’s Knot” could be reworded for something a little more geeky. Yes, we really did solder some wires together in the middle of our wedding, with a Weller soldering iron Mara bought me for a past birthday no less. And you won’t believe what PCBs came in handy for the build…
Video
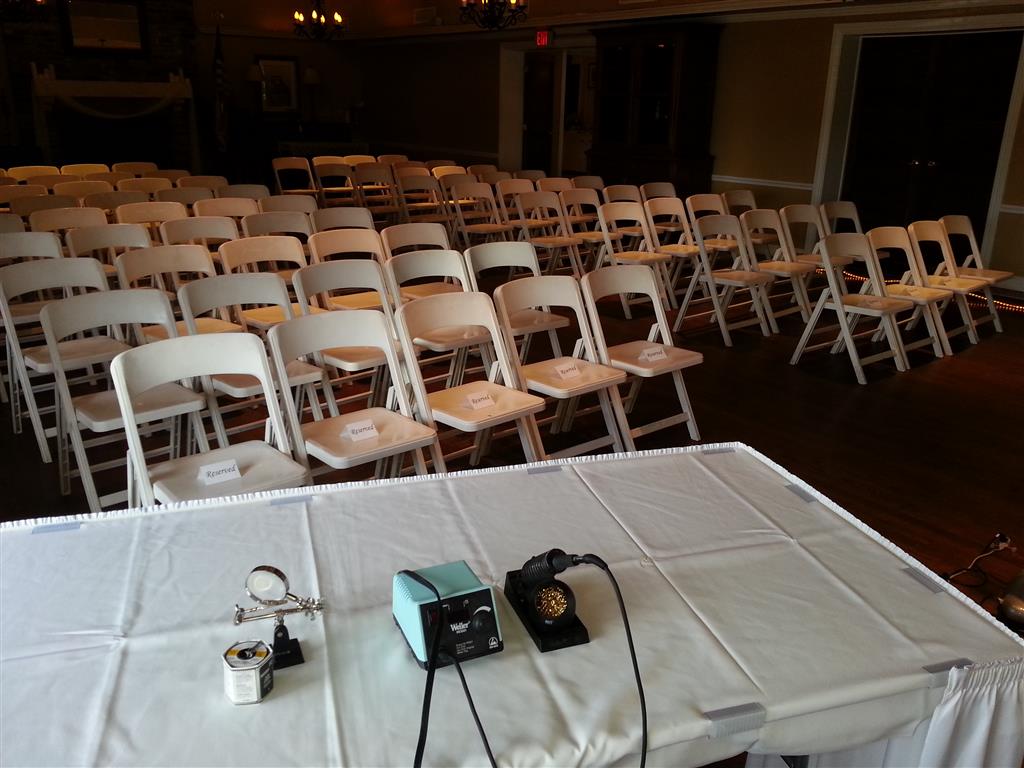
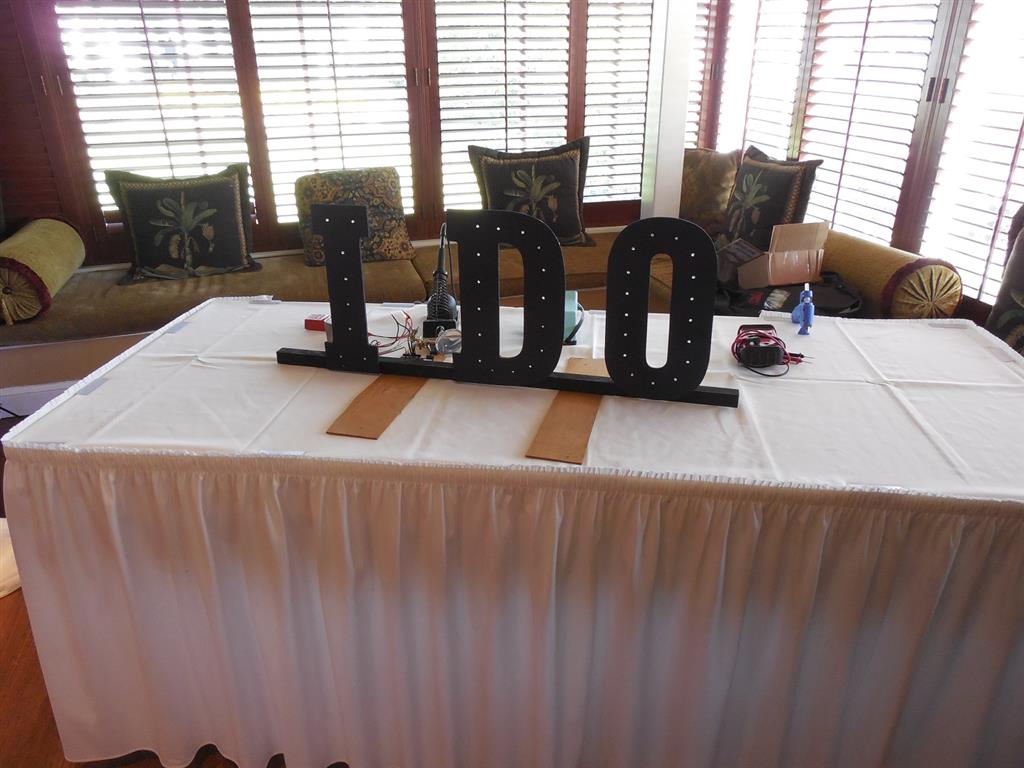
Ok, this post will be short because this project was thrown together 4 days before the wedding and we didn’t have time to stop and document the steps. We were set to get married and still had a lot to do, as evident by the mini-maker space we created in my parents house:
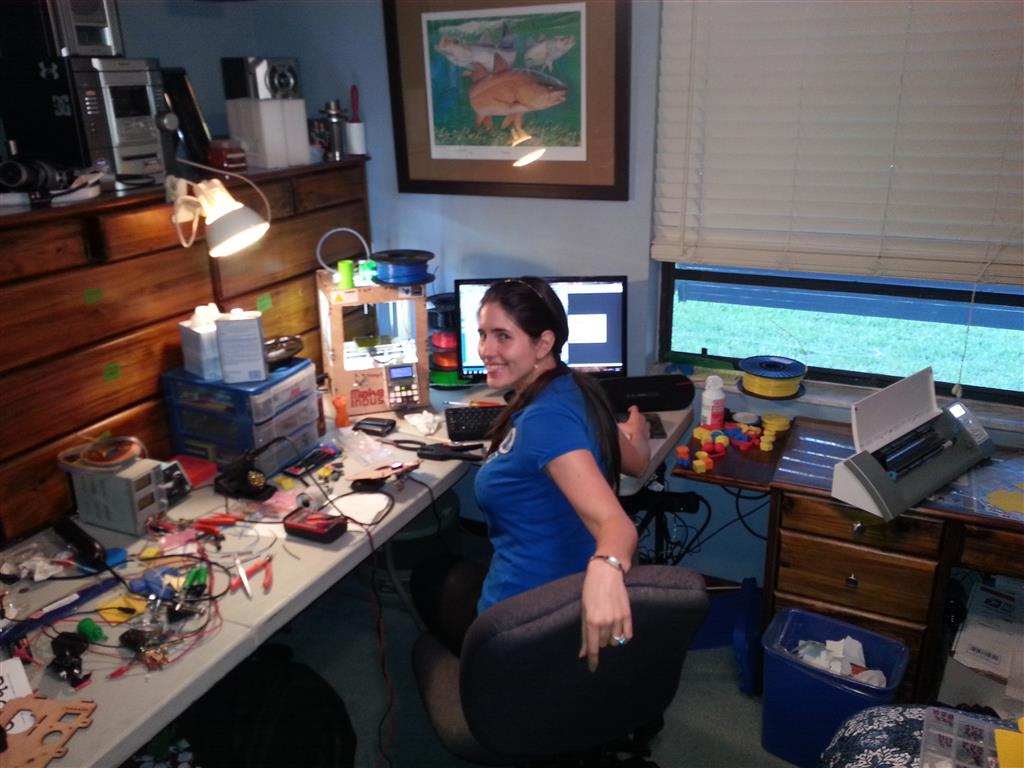
Wedding Hack HQ (click to enlarge)
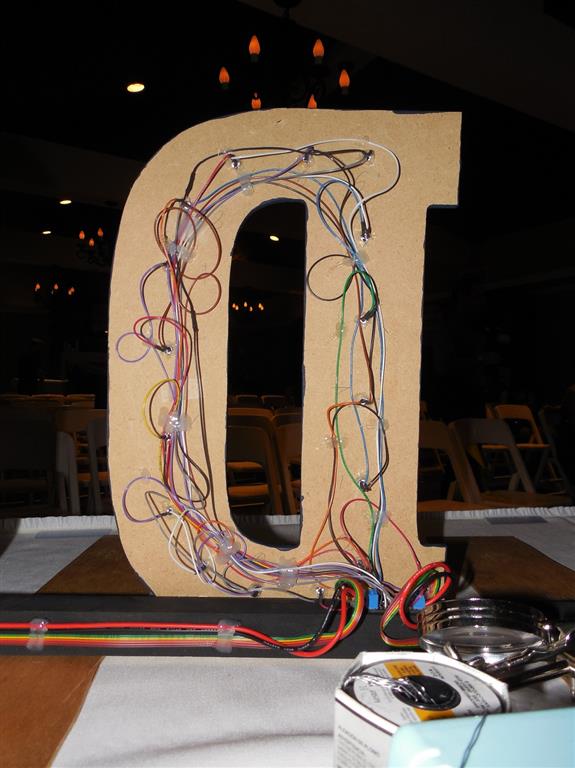
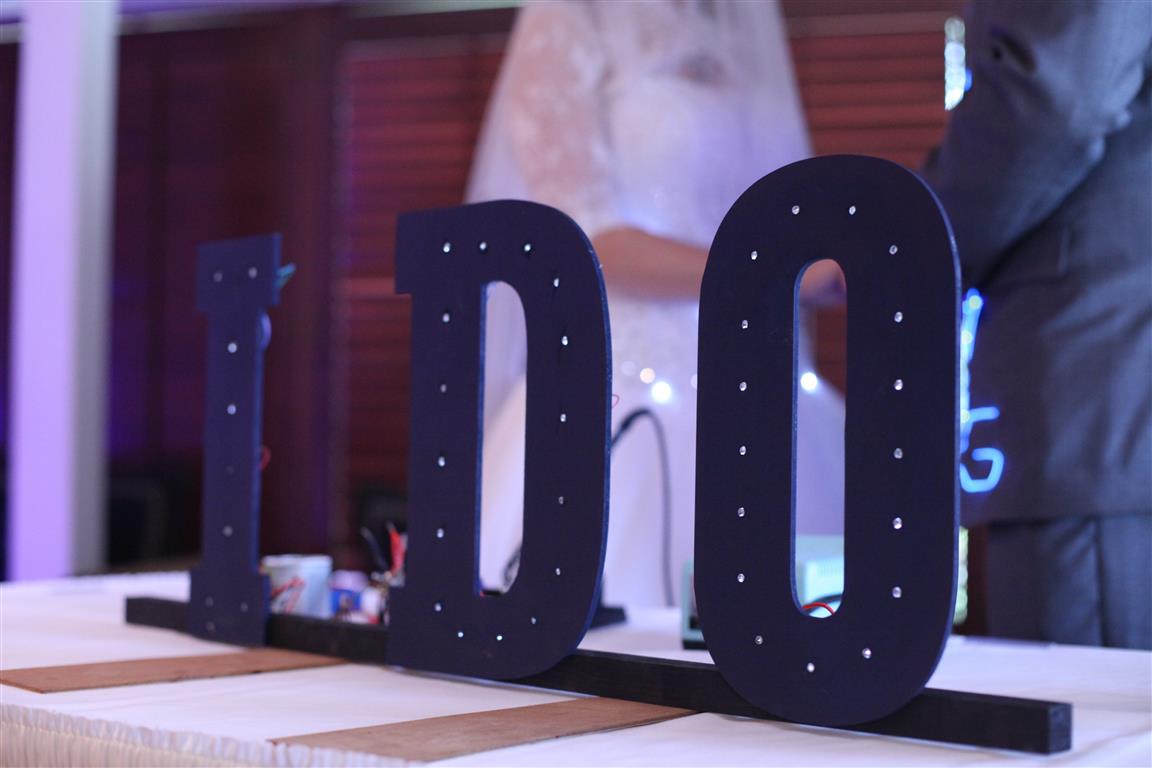
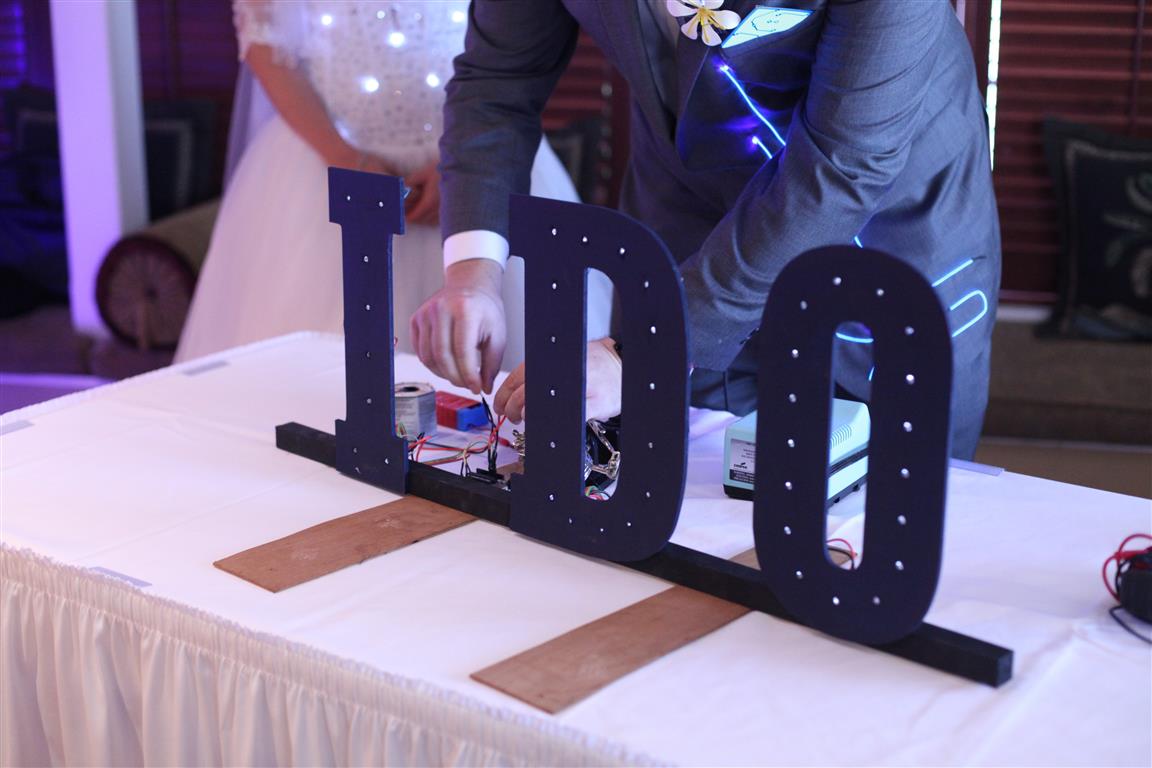
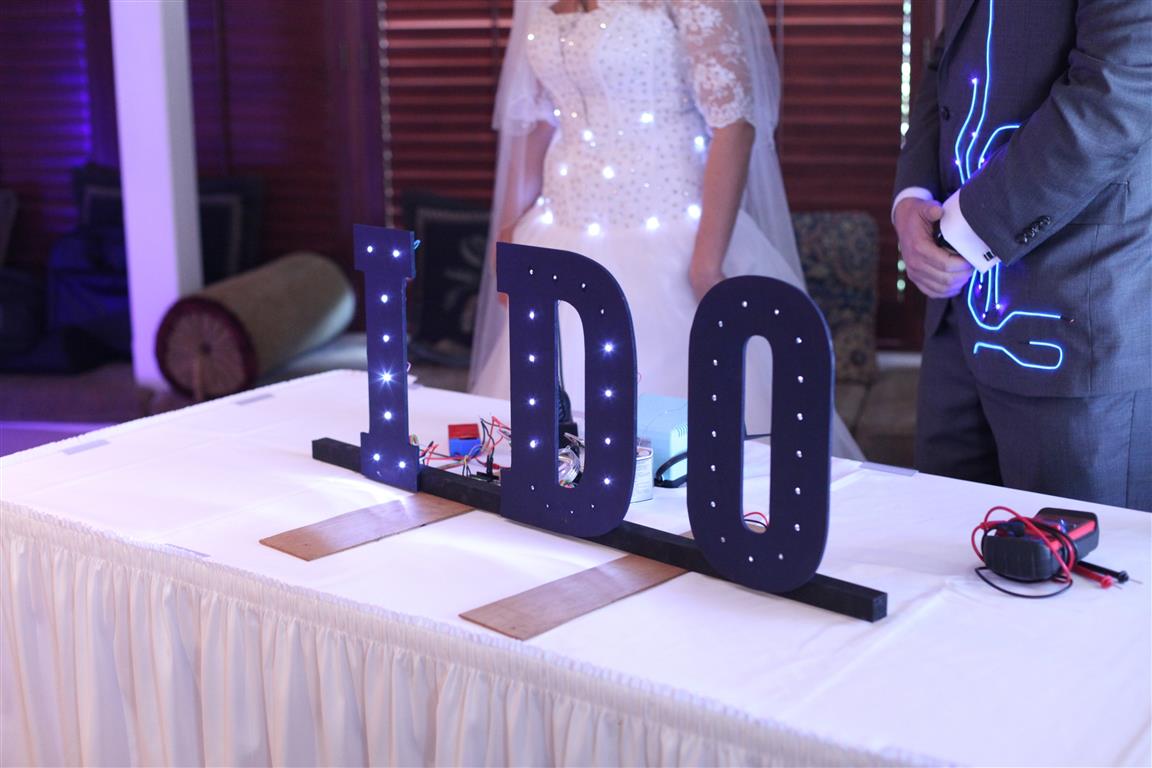
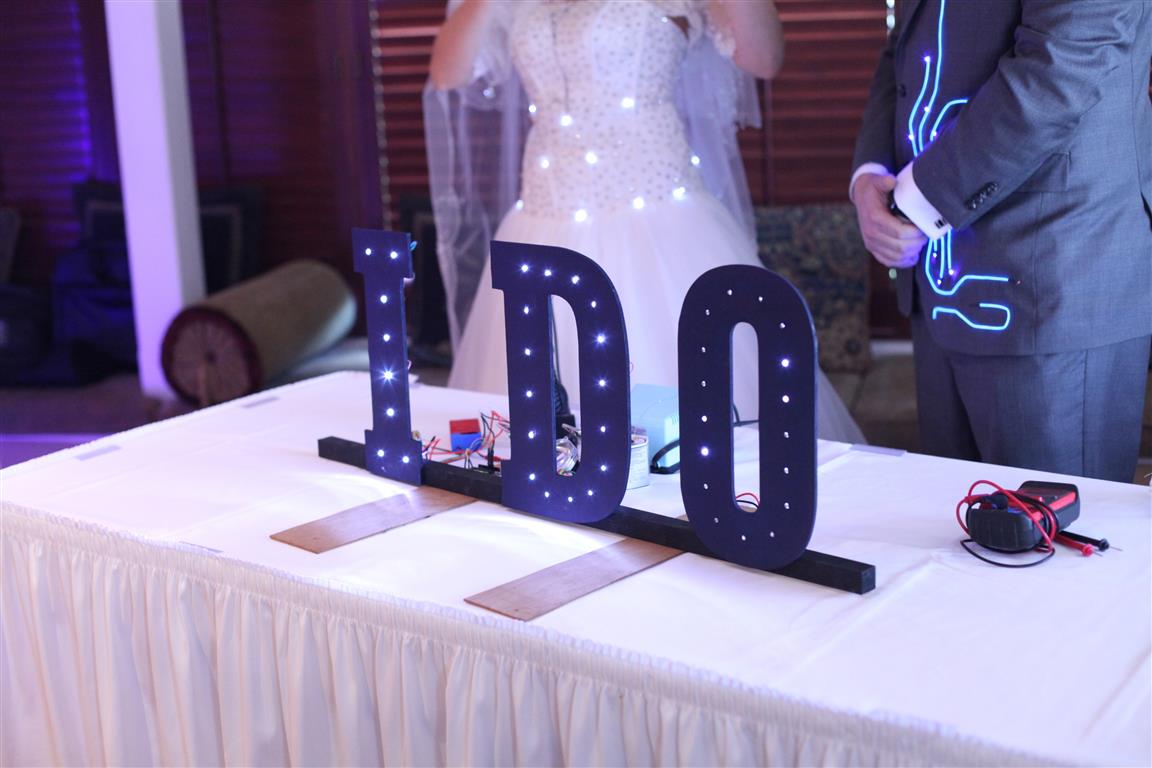
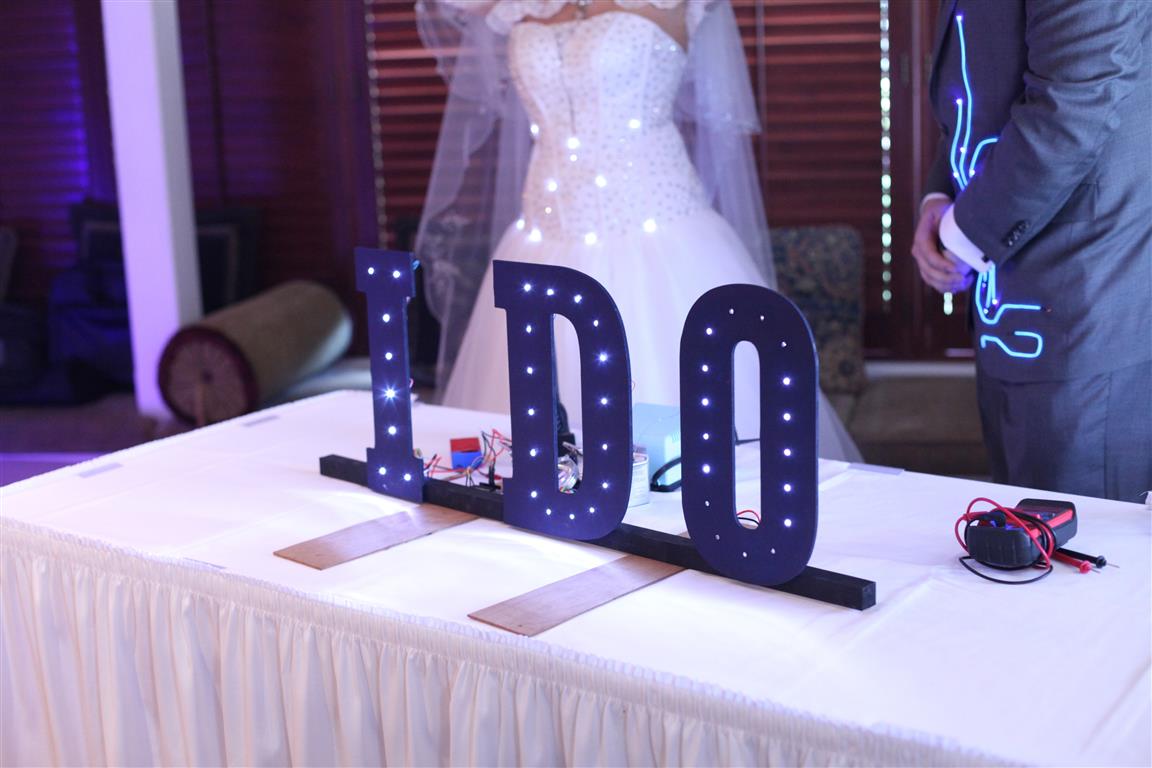
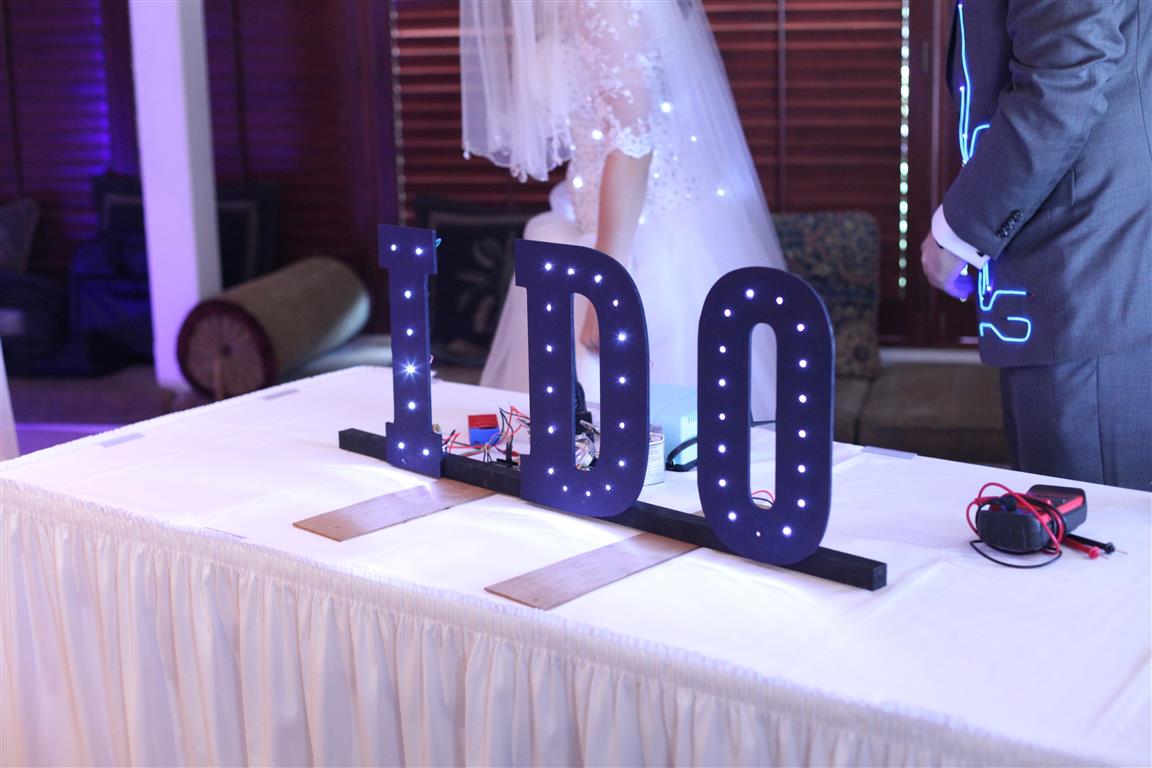
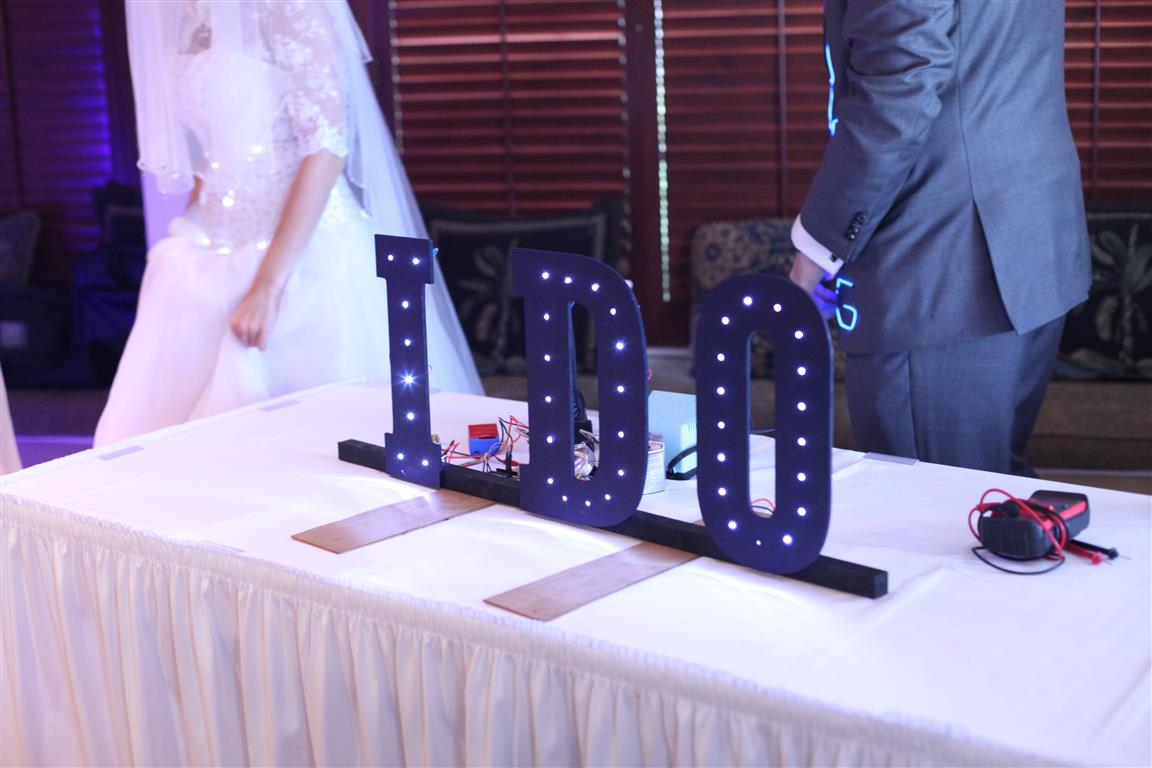
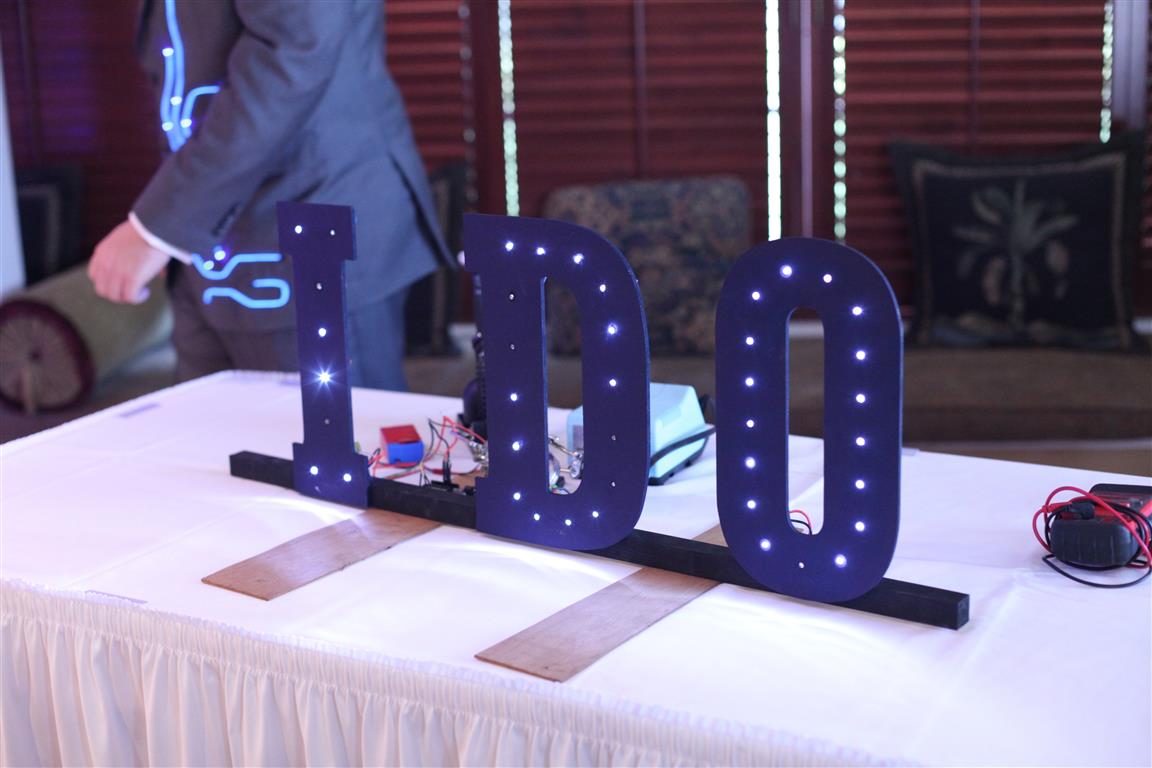
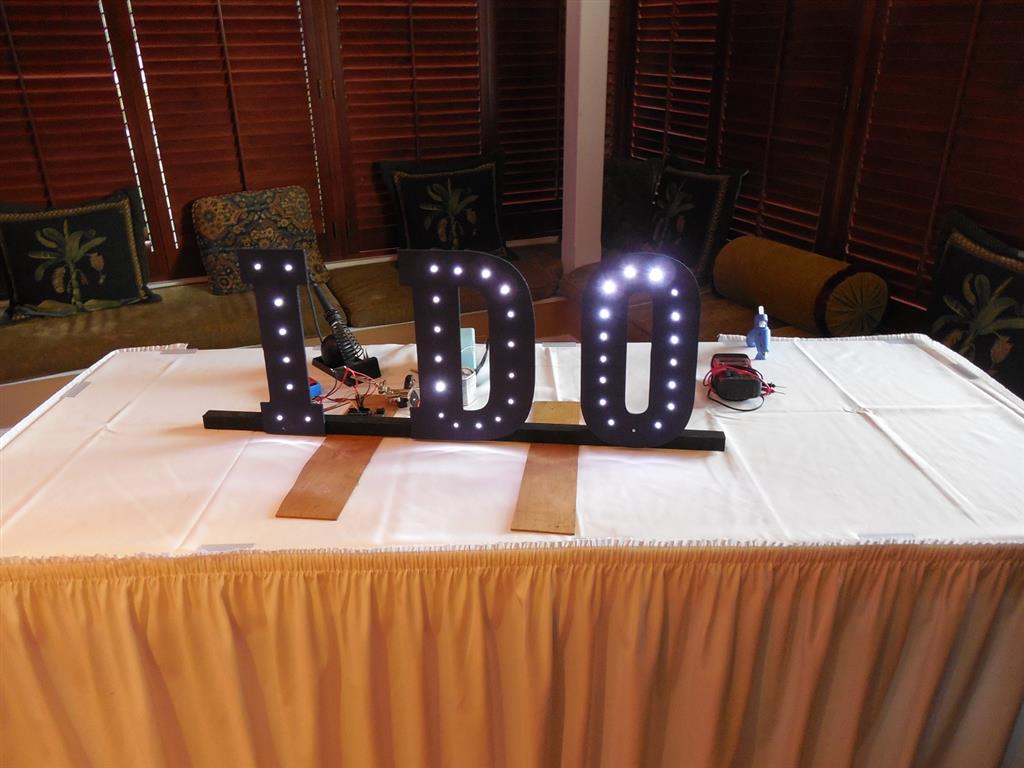
Mara bought the letters at a local hobby store. I sketched out a rough outline of evenly spaced LEDs and went to work creating the holes with a drill press. A coat of blank paint and then my best man Dan went to work soldering wires to all those LEDs. Next we had to figured out a way to control those LEDs. In a pleasant case of coincidence, the boards I hijacked to ask my bride to marry me 2 years ago were designed to control large numbers of LEDs. Yes, the boards that asked “Mara Will You Marry Me?” were used to run letters that said ‘I Do’ during our wedding ceremony.
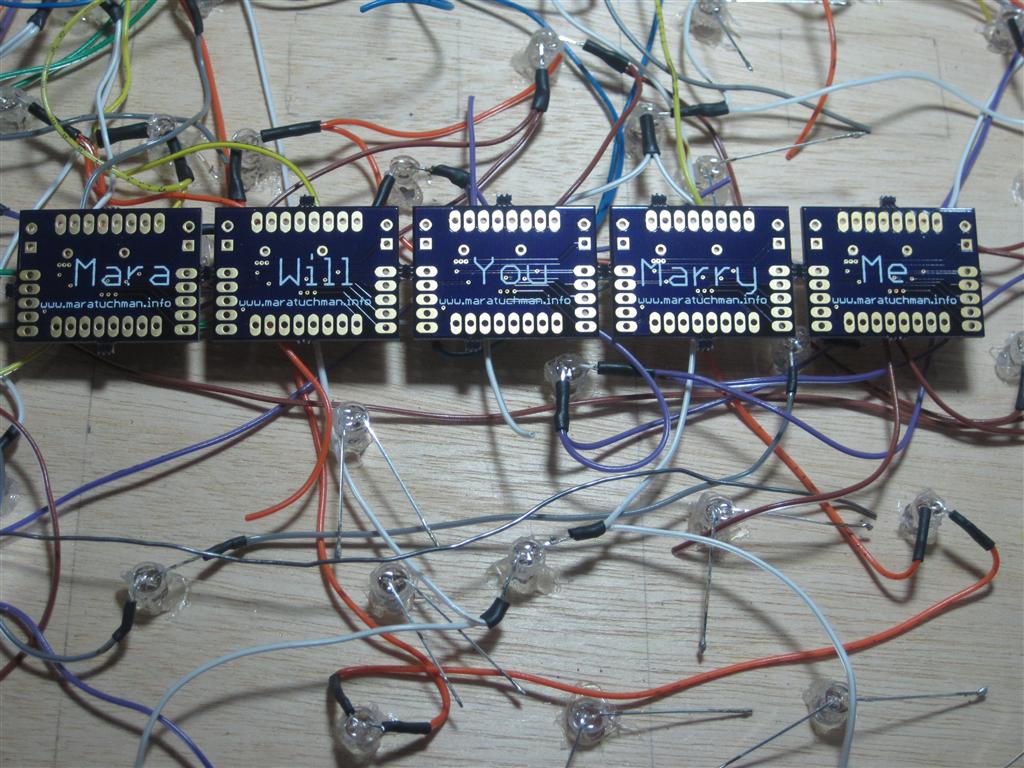
Talk about coincidence!
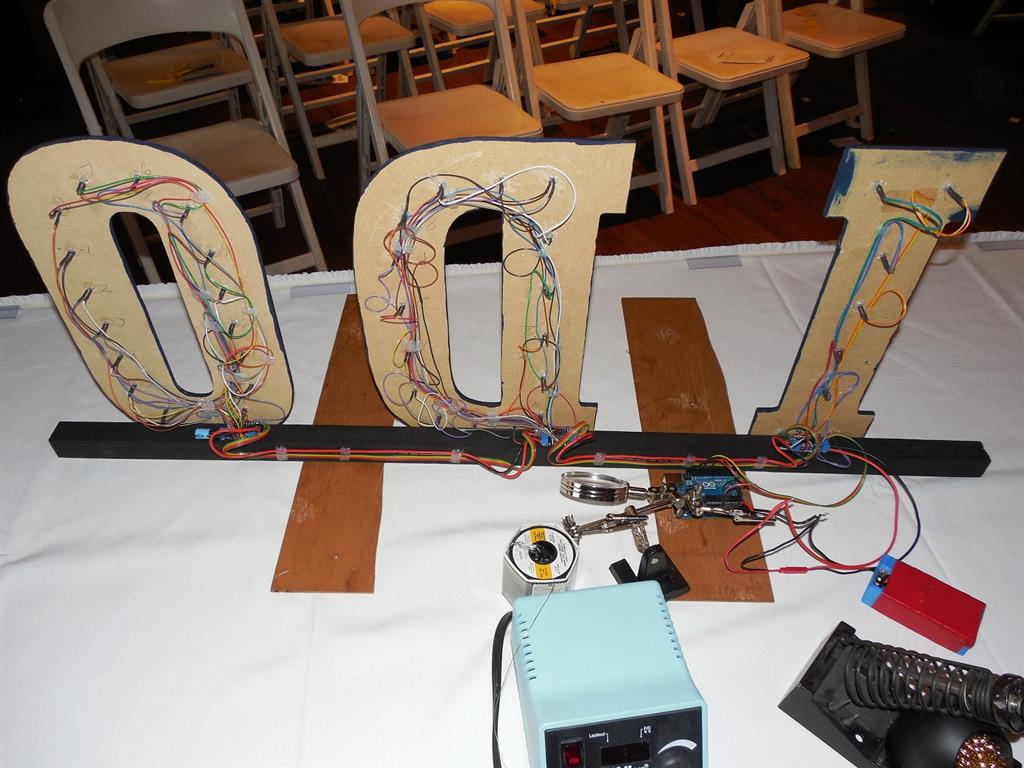
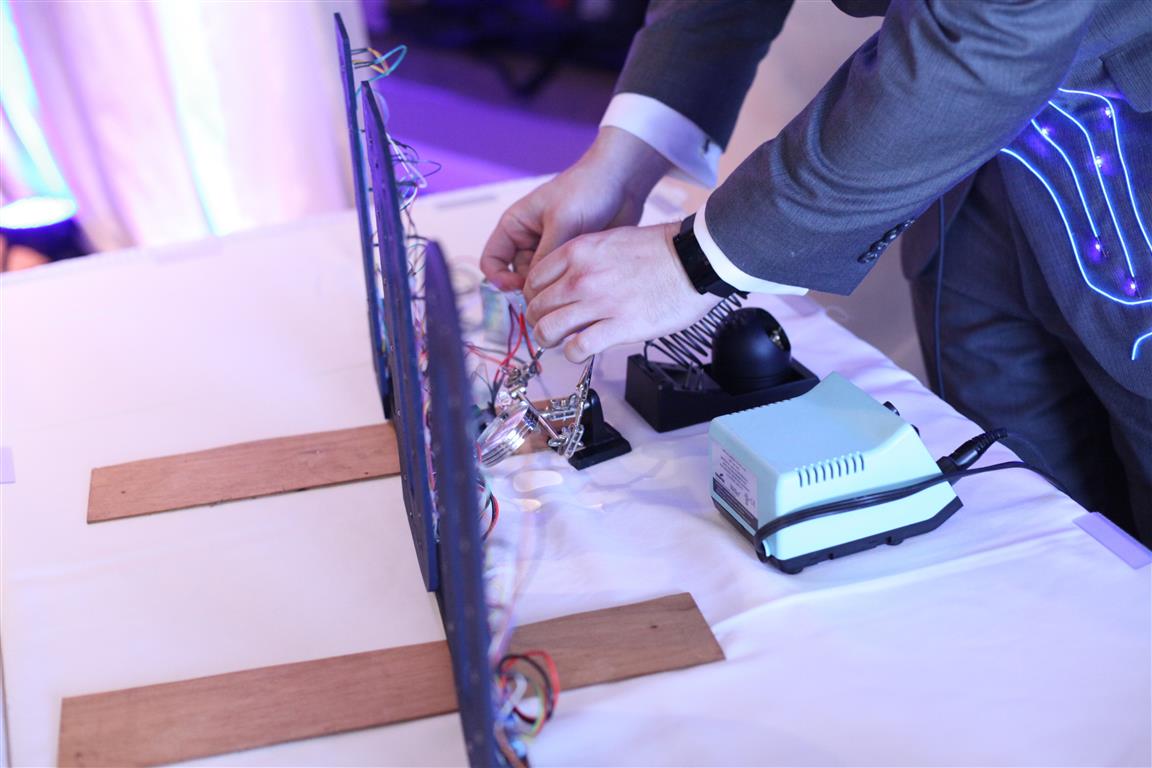
The boards are a breakout for a inexpensive constant current shift register. Mate that with an Arduino running a SPI based PWM library and you’ve got yourself chain-able LED driver system. Dan did all the wiring while I whipped up a few driver boards. Once we had everything wired up and running the demo code I went to work programming a sequence for the display. Thanks to my Vixen-Arduino Python script, I was able to quickly choreograph a lighting sequence and embed it into the Arduino code. I did run into a new problem, turns out the AVRDude has a bug; if it encounters a whole page of FFs in the hex file, it will assume it’s already that way in the flash and skips sending it over to the Arduino. A quick change to Vixen to limit maximum brightness to 254 bypassed the bug and got me running.
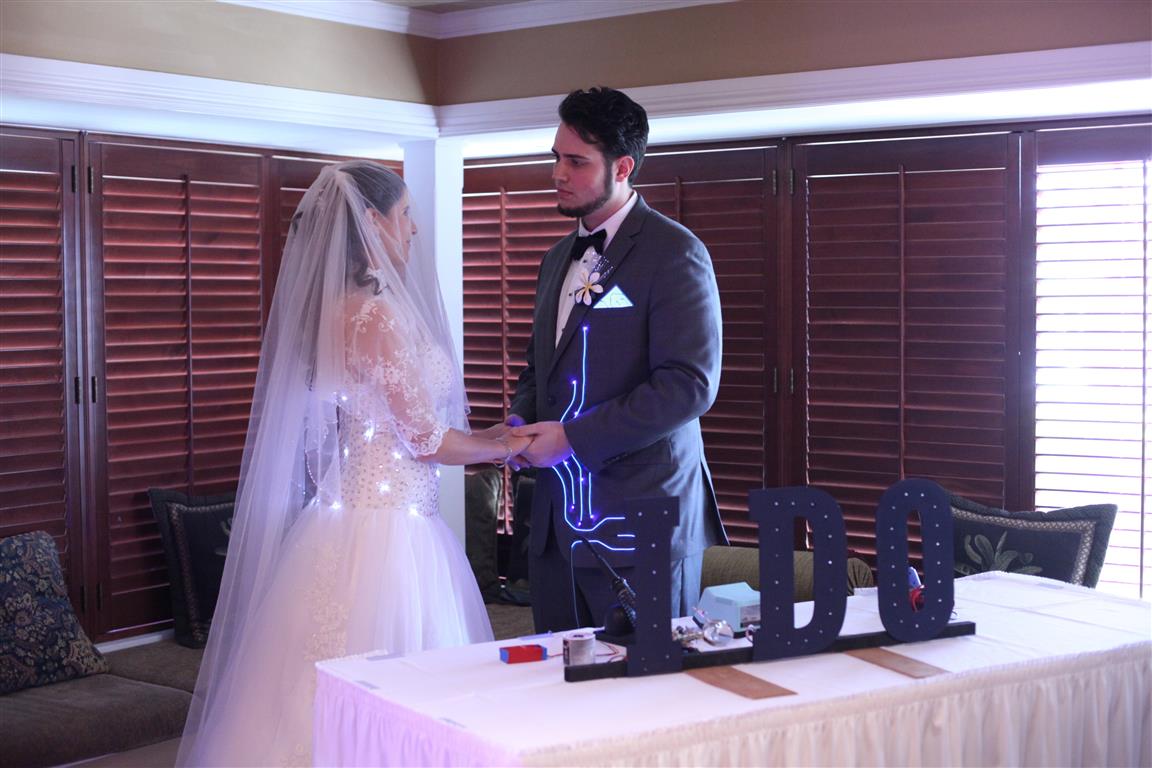
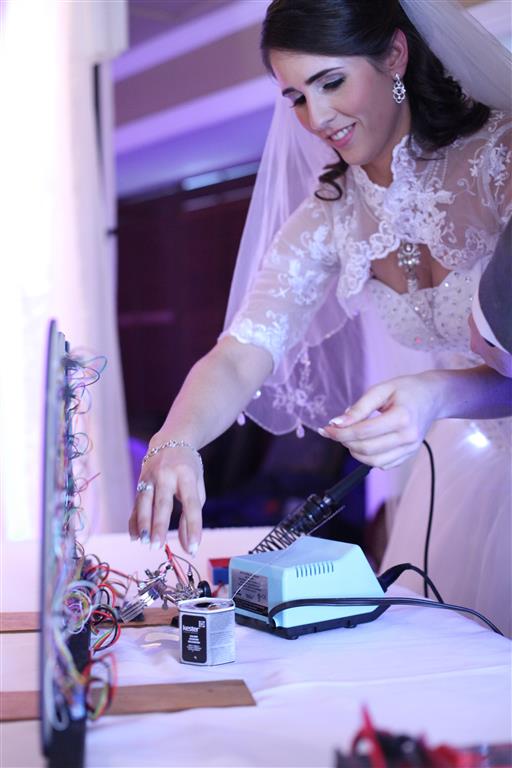
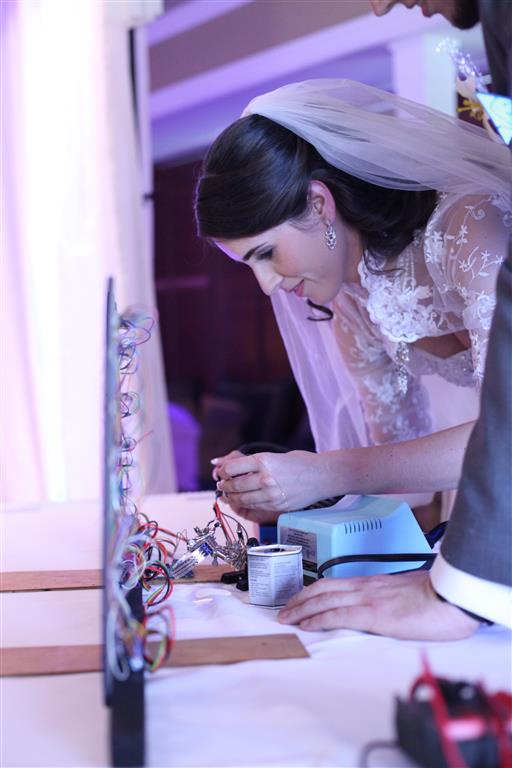
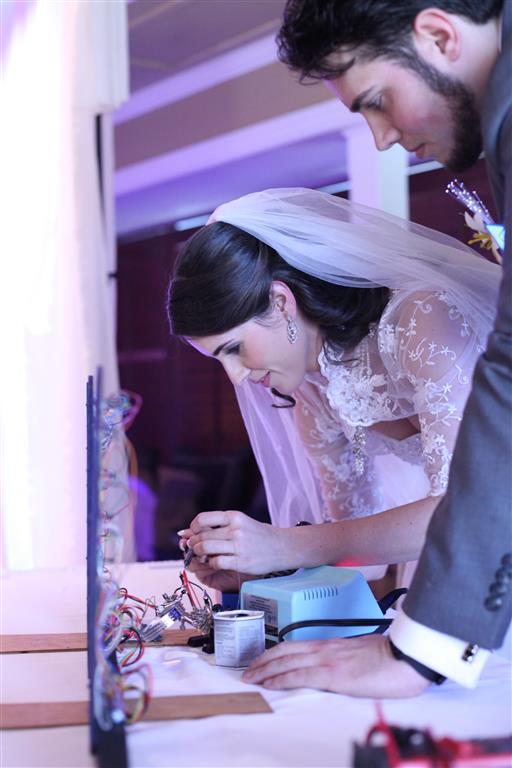
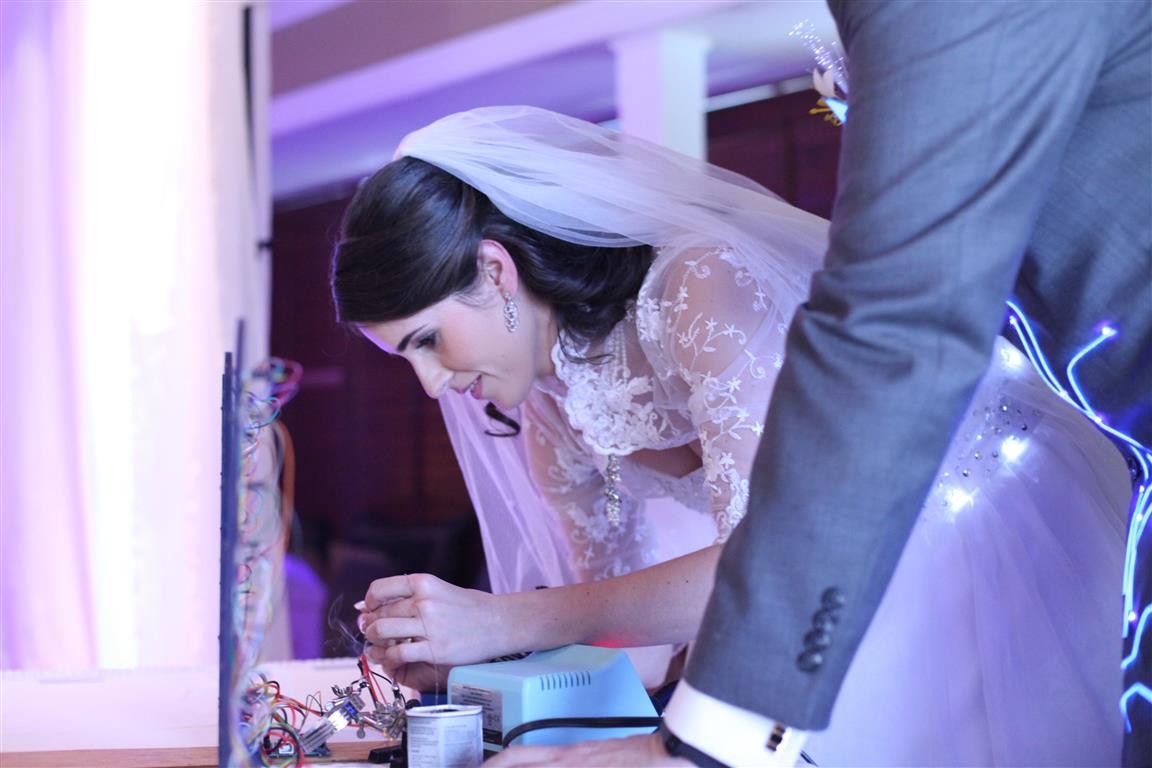
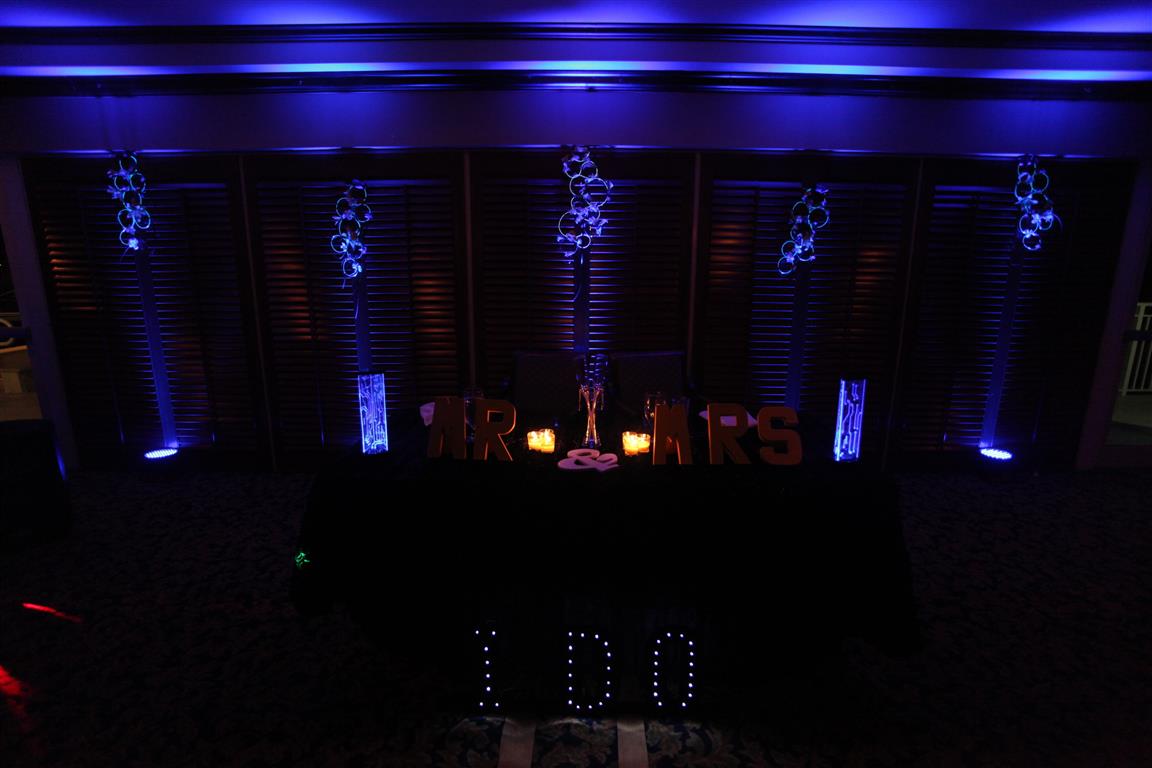
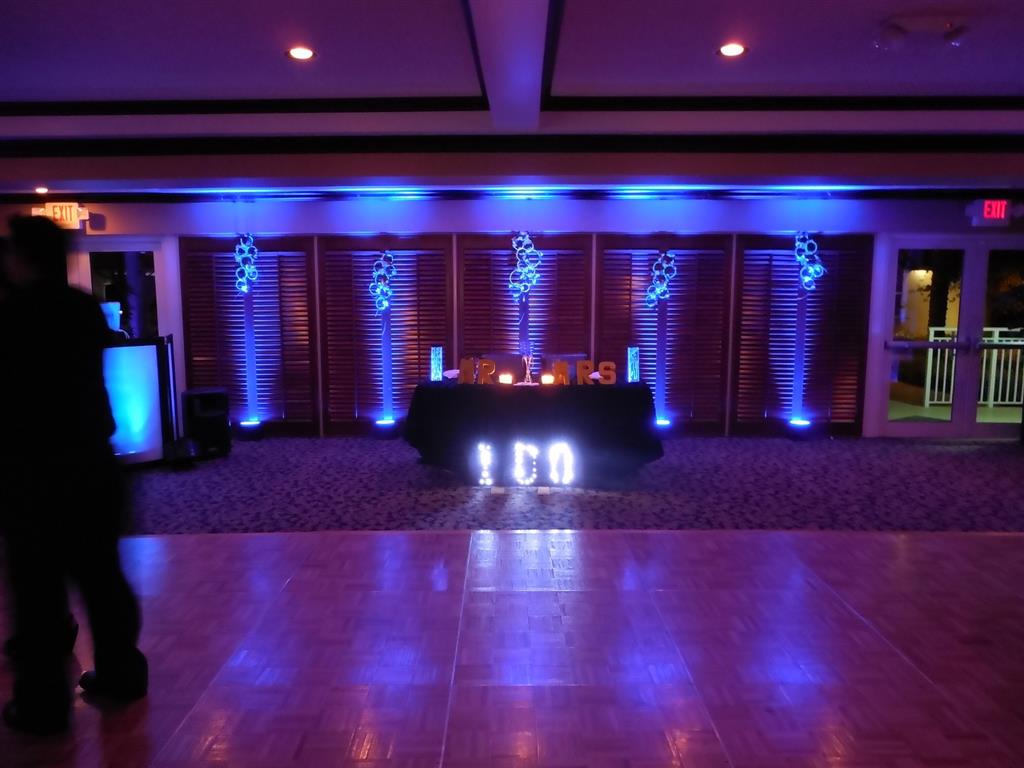
During the ceremony, the final connection between the Arduino and the battery pack is made and soldered together. ‘Completing the circuit’ turns the display on and the preprogrammed sequence begins to play. This was the quickest project of the wedding and turned out to be one of the most talked about afterwords. Everyone loved the unique addition to our ceremony!
Wait, what were you wearing?
Go here to read about our geeky Wedding Attire, or here to read about the rest of our wedding hacks.


Trackbacks / Pingbacks